
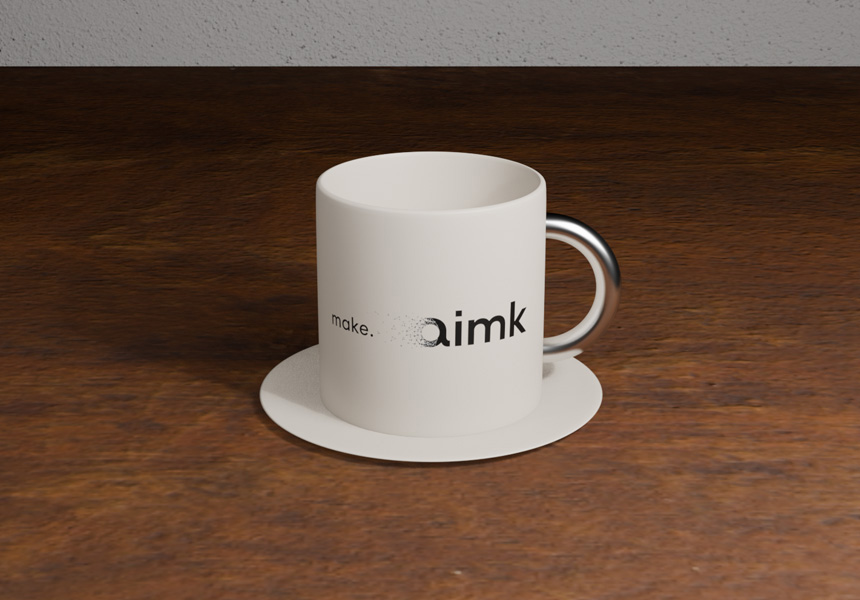
In the previous article, Blender Lighting Basics: Placing Your First Light Without an HDRI, we lit a coffee cup. This time we'll cover rendering: turning a 3D scene into a single image.
Rendering settings change both how long it takes and how the result looks. Getting rid of the grainy speckle in an image — noise — isn't simply a matter of raising numbers. We'll go through which settings do how much, comparing render time against the result as we go.
* This article was verified with Blender 5.2 LTS. Every render time given here was measured on the machine used to write it.
Frame the camera
We scaled the cup down to real-world size in the previous article, but the camera is still where it started. A render is whatever the camera can see, so the camera comes first. It sits about 11 m from the origin, while the cup stands about 8 cm tall. Leave it there and the cup takes up a tiny corner of the frame.
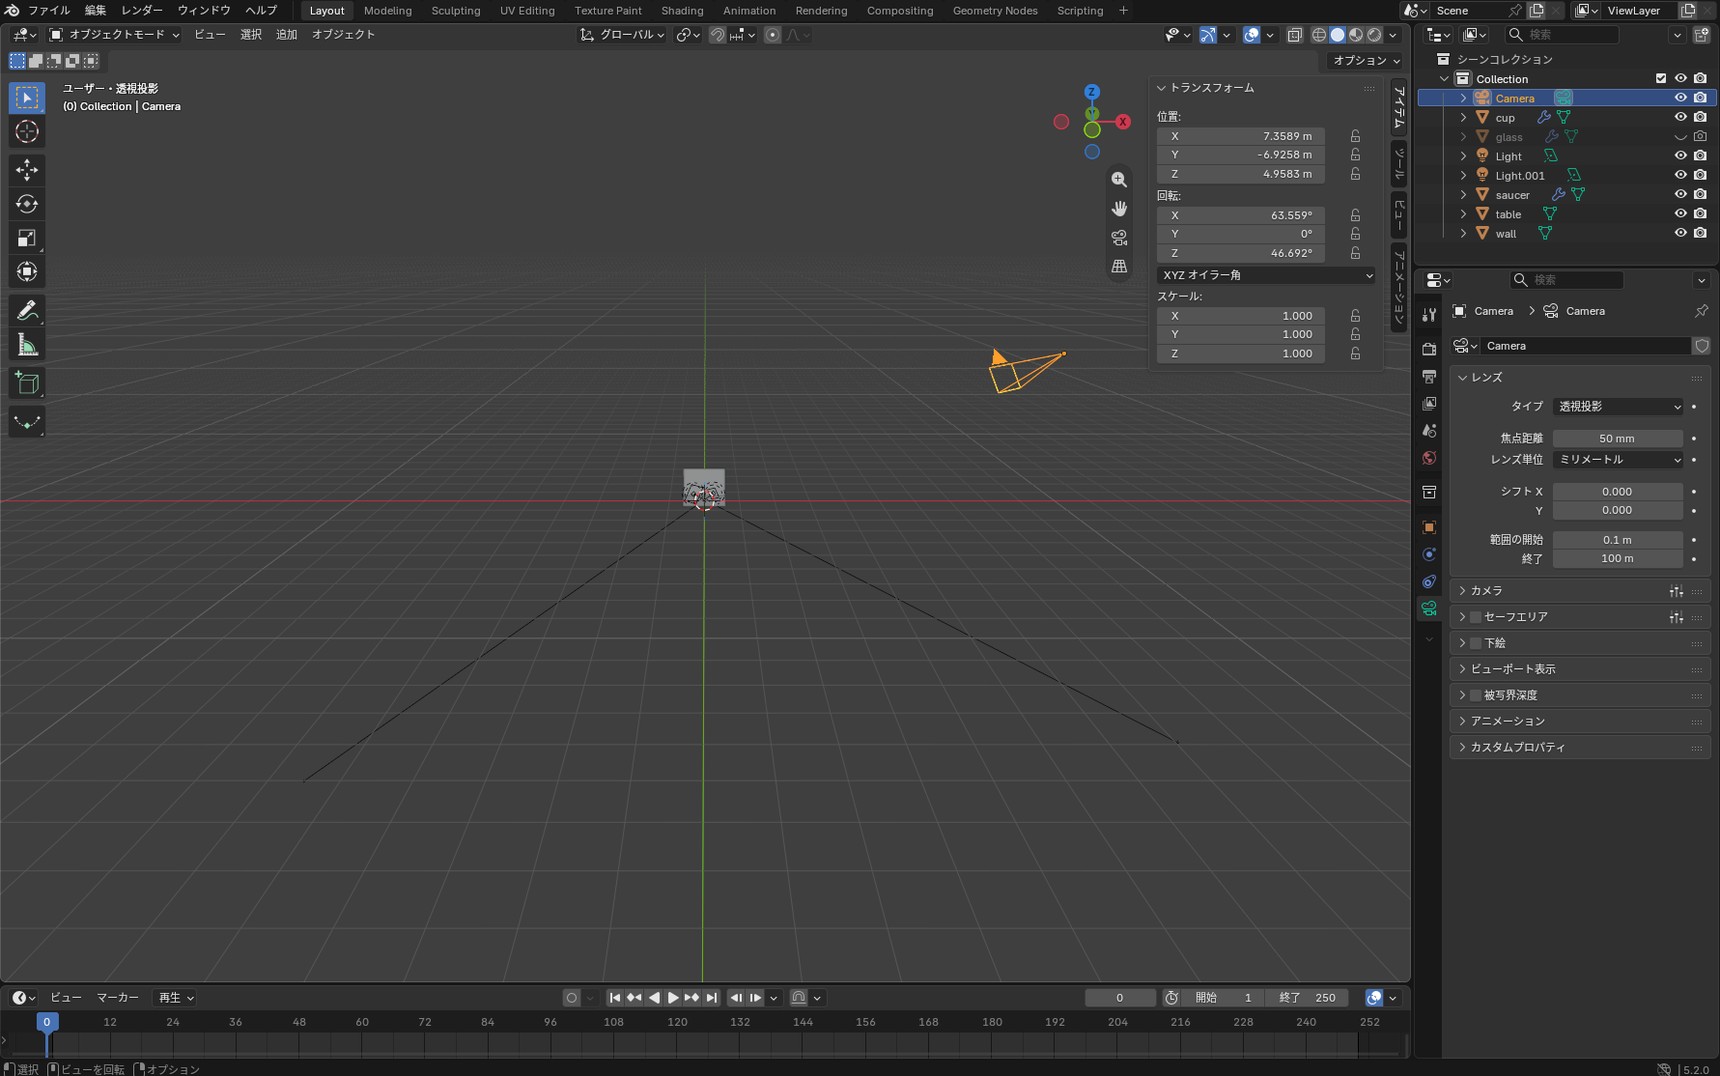
Let Blender fit the camera to the cup
Select the cup and run "View" → "Align View" → "Align Active Camera to Selected" from the header of the 3D Viewport.
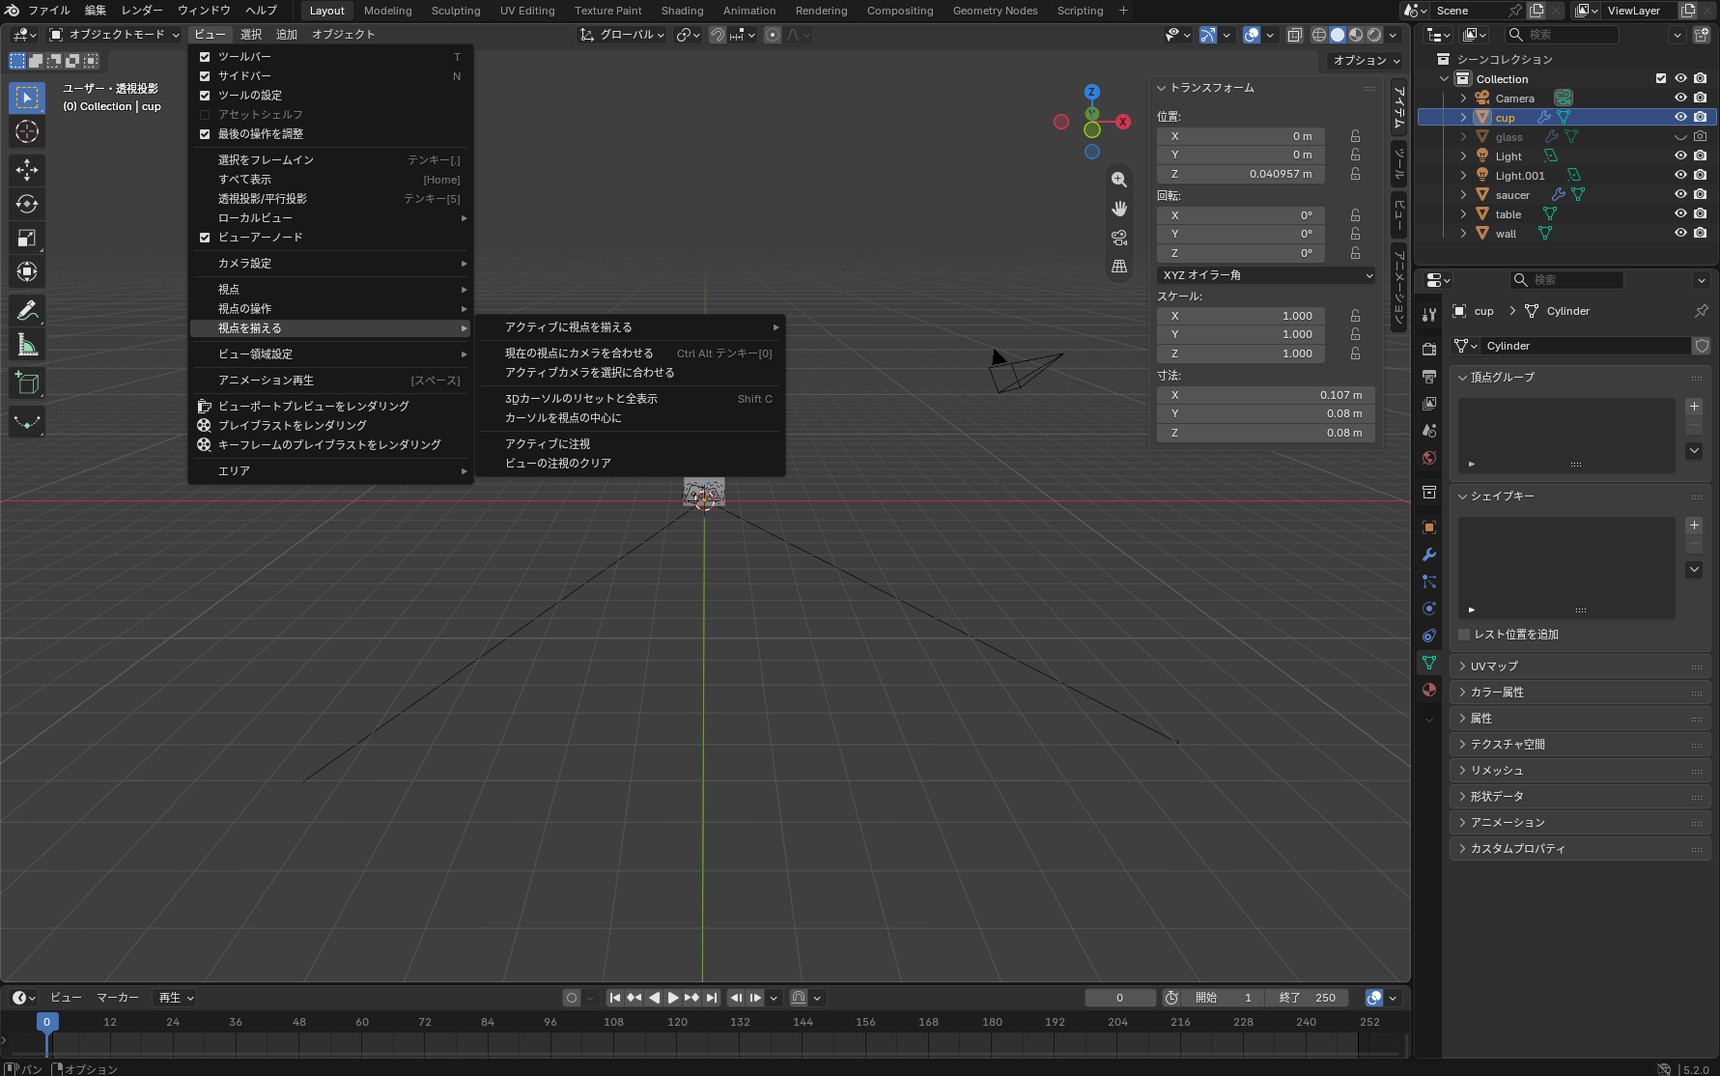
"Align View" holds several entries with similar names. "Align View to Active" moves your viewpoint only, leaving the camera where it is. The one that moves the camera is "Align Active Camera to Selected".
Press 0 on the numpad to look through the camera, and the cup fills the frame.
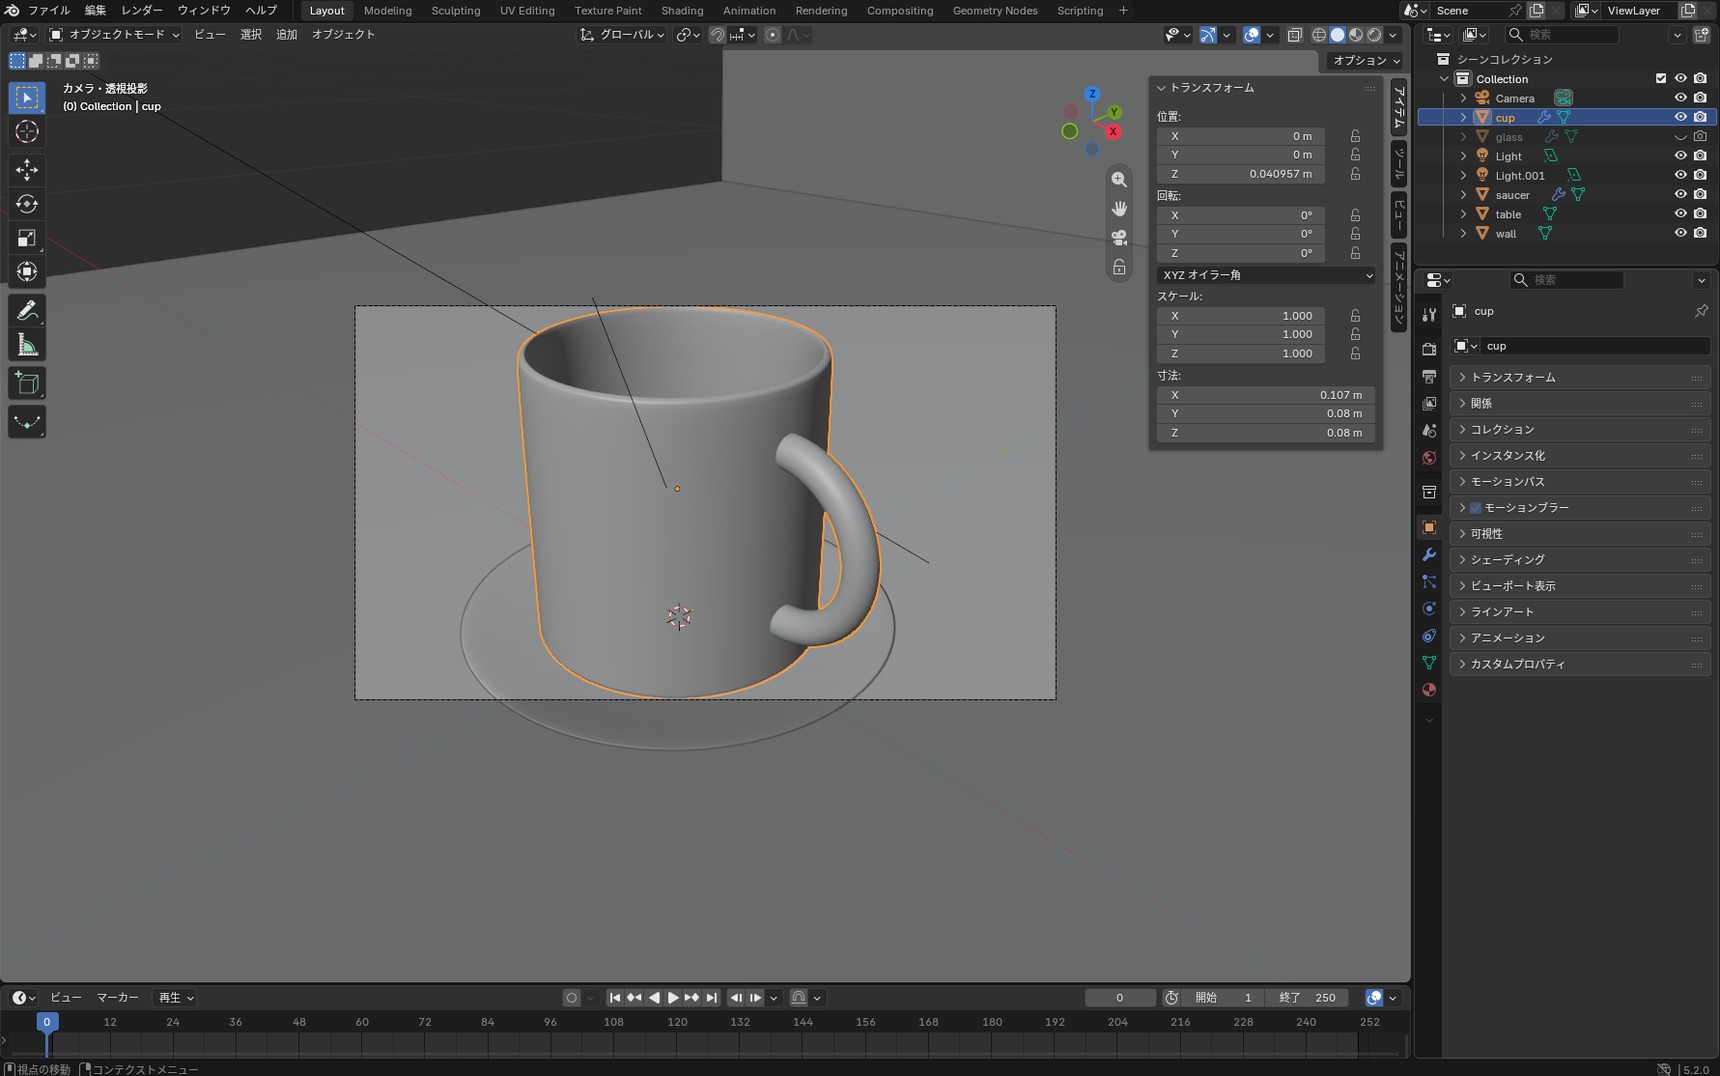
The operation fits whatever you selected into the frame, so the saucer — which you didn't select — is cut off at the bottom. From here we'll pull the camera back.
Move the camera to settle the framing
While looking through the camera, open the "View" tab in the sidebar and tick "Camera to View" under "View Lock". Your usual viewport navigation now moves the camera itself.
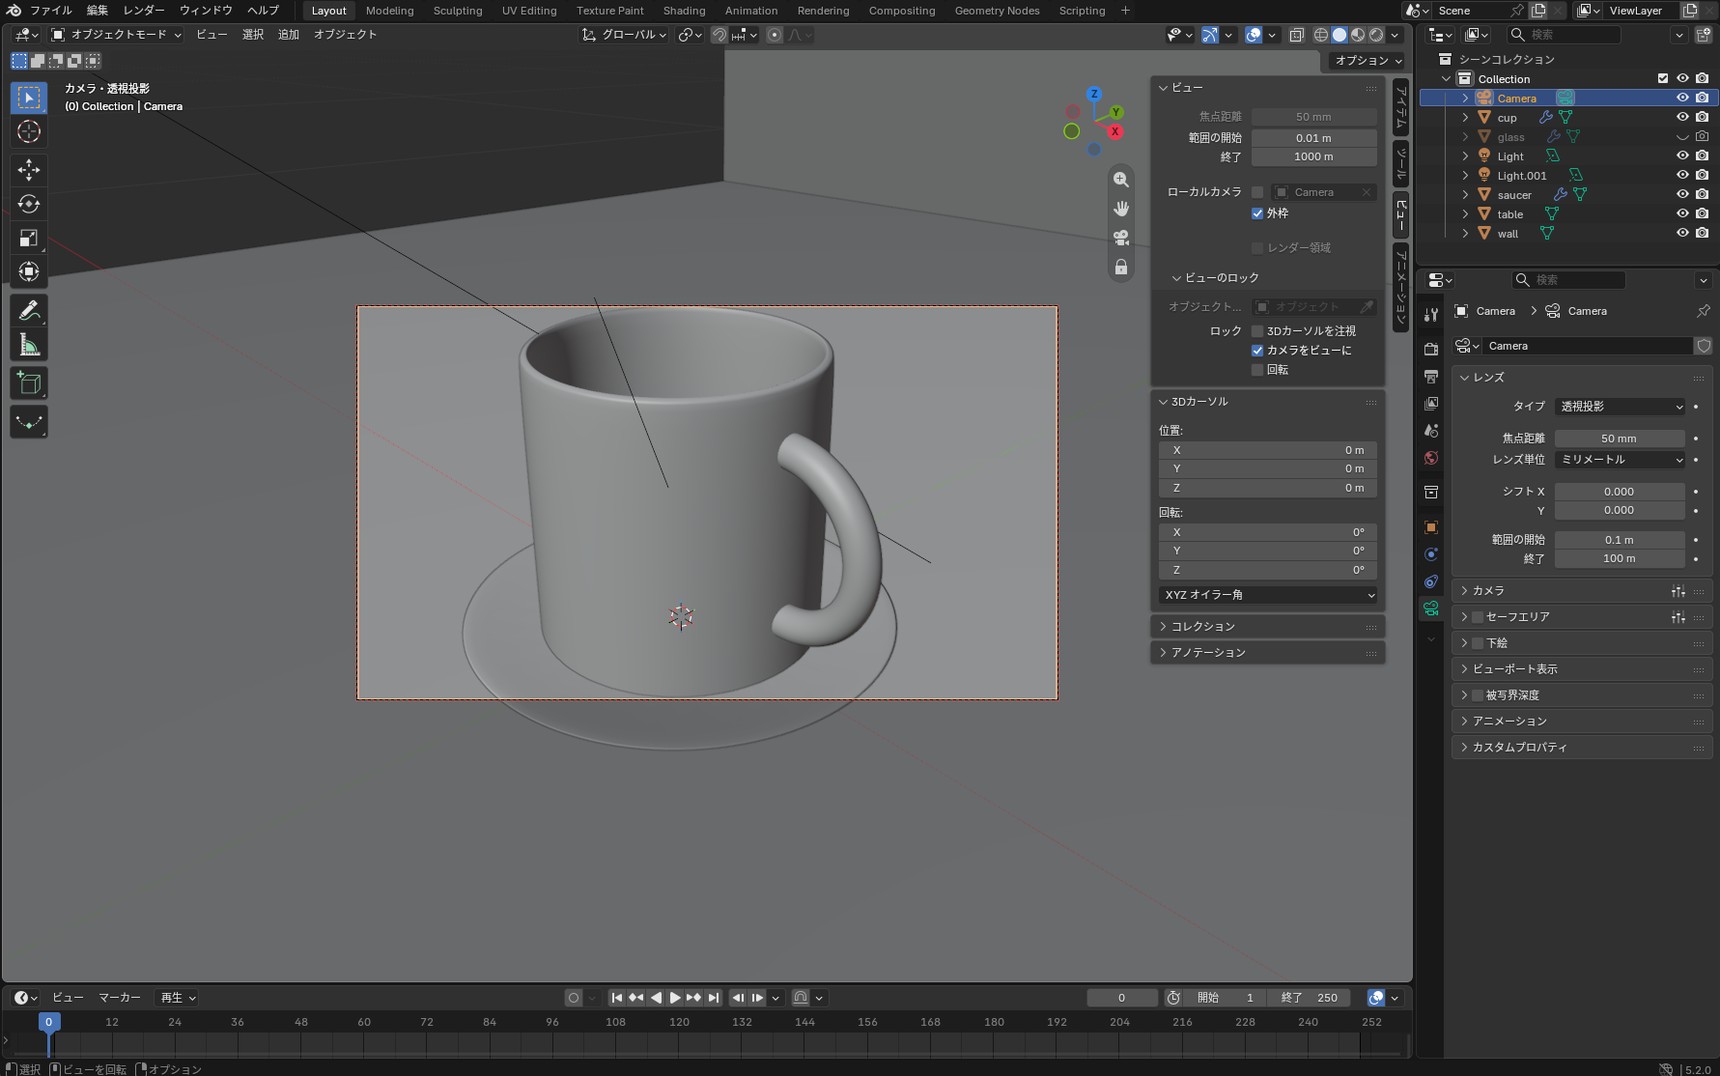
Check with 0 on the numpad as you go and close in on the framing a little at a time. Getting it right on the first try is not the norm.
Once the framing is settled, untick "Camera to View". Leave it on and the camera moves every time you move your viewpoint.
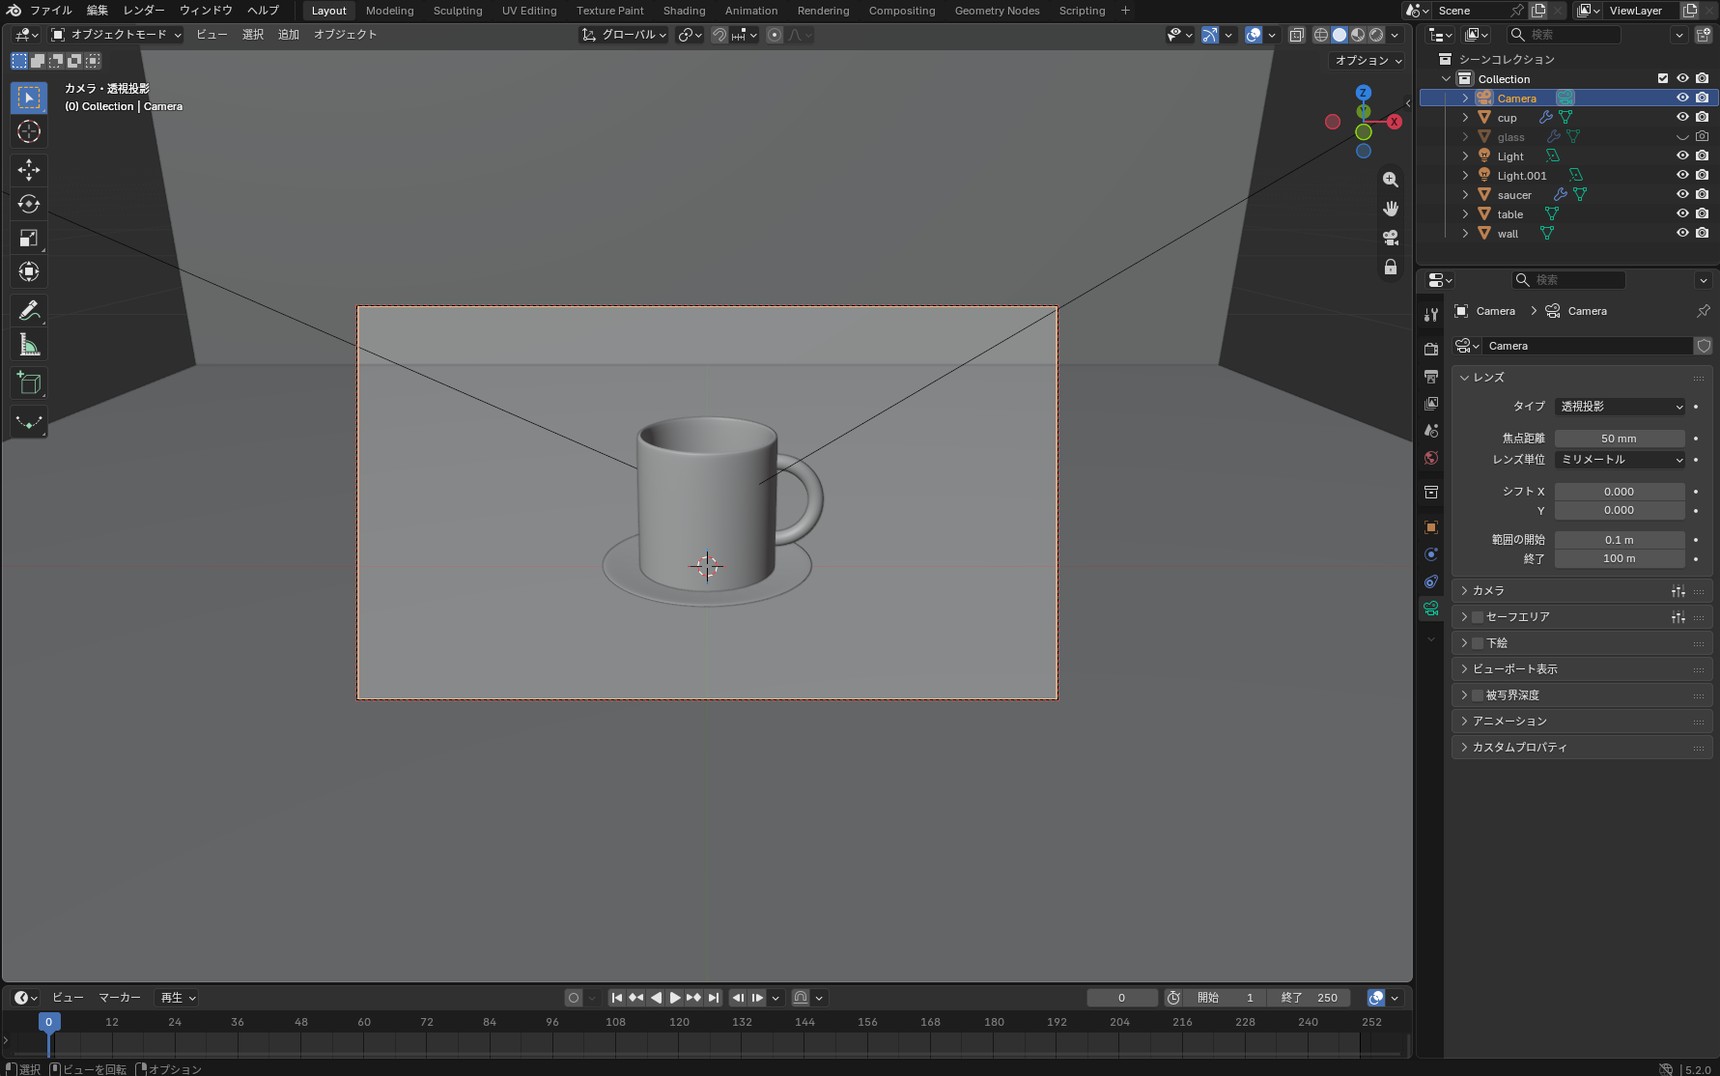
To match the framing used here, press N to open the sidebar and enter these values.
- Location: X
0/ Y-0.527/ Z0.22516 - Rotation: X
70.623°/ Y0°/ Z0°
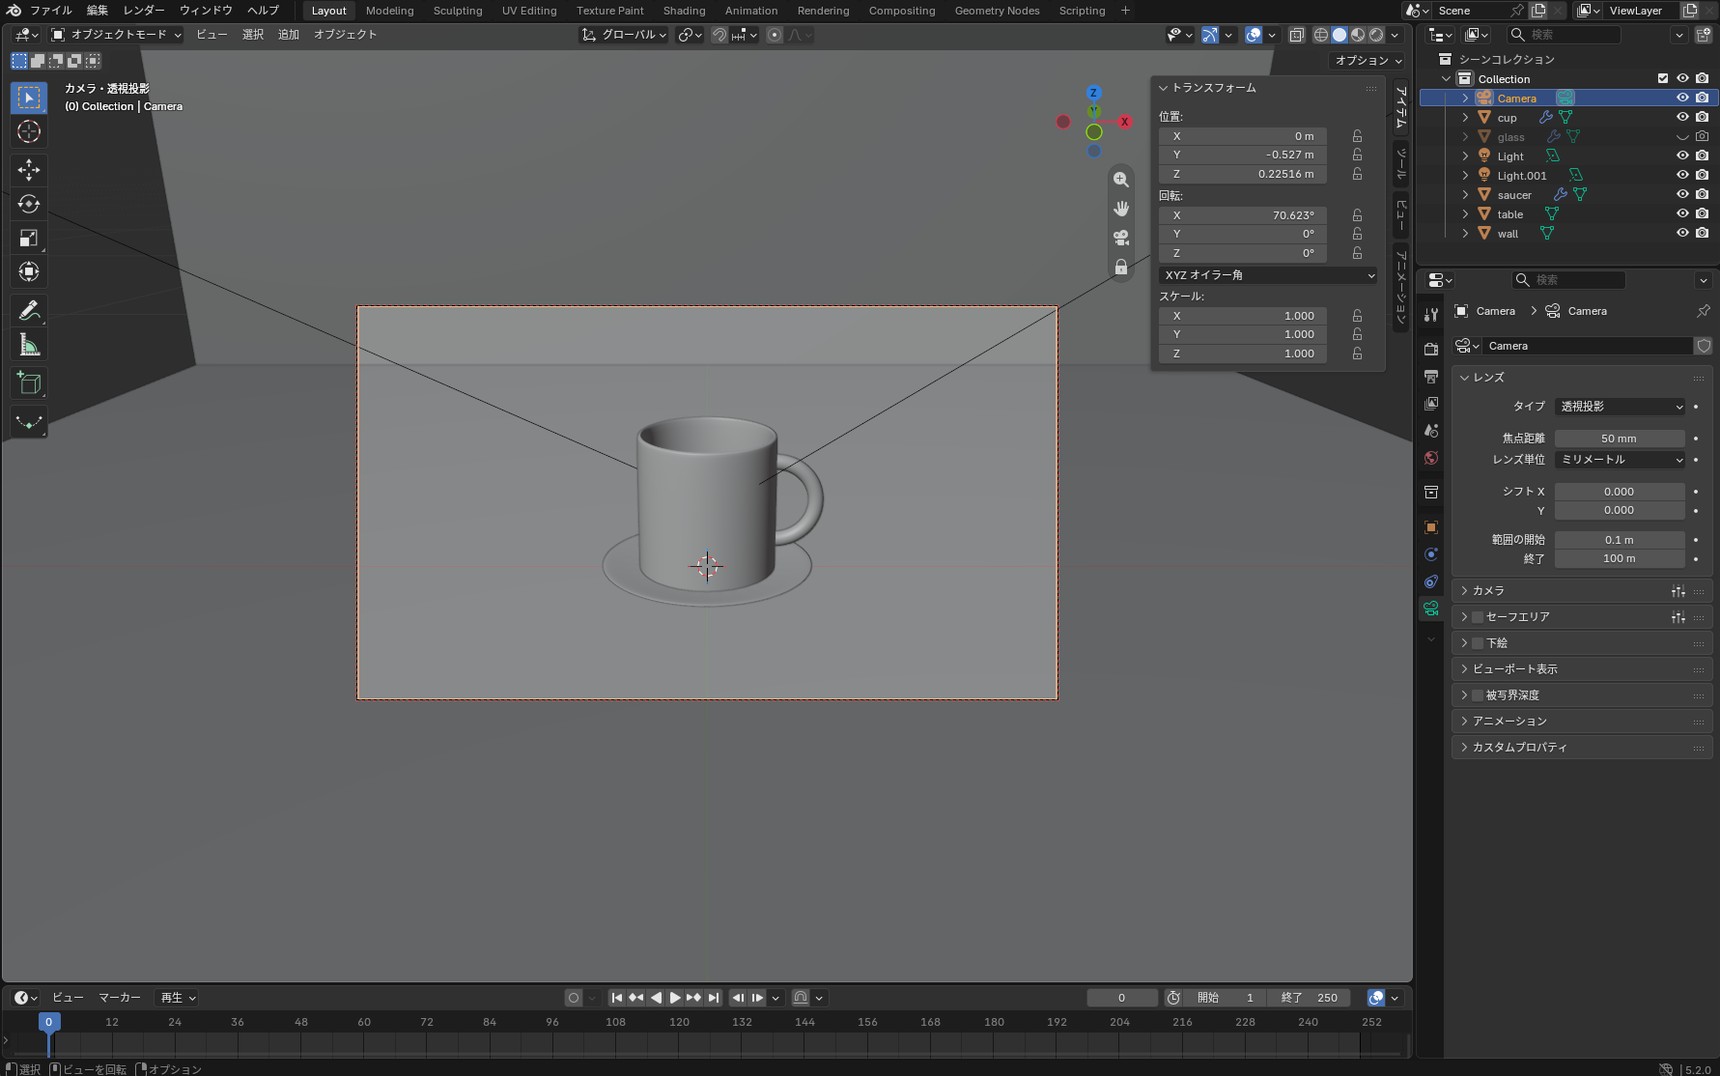
That puts the camera about 0.57 m from the origin, around a twentieth of where it started. Focal Length stays at its default of 50mm.
Render the image and save it
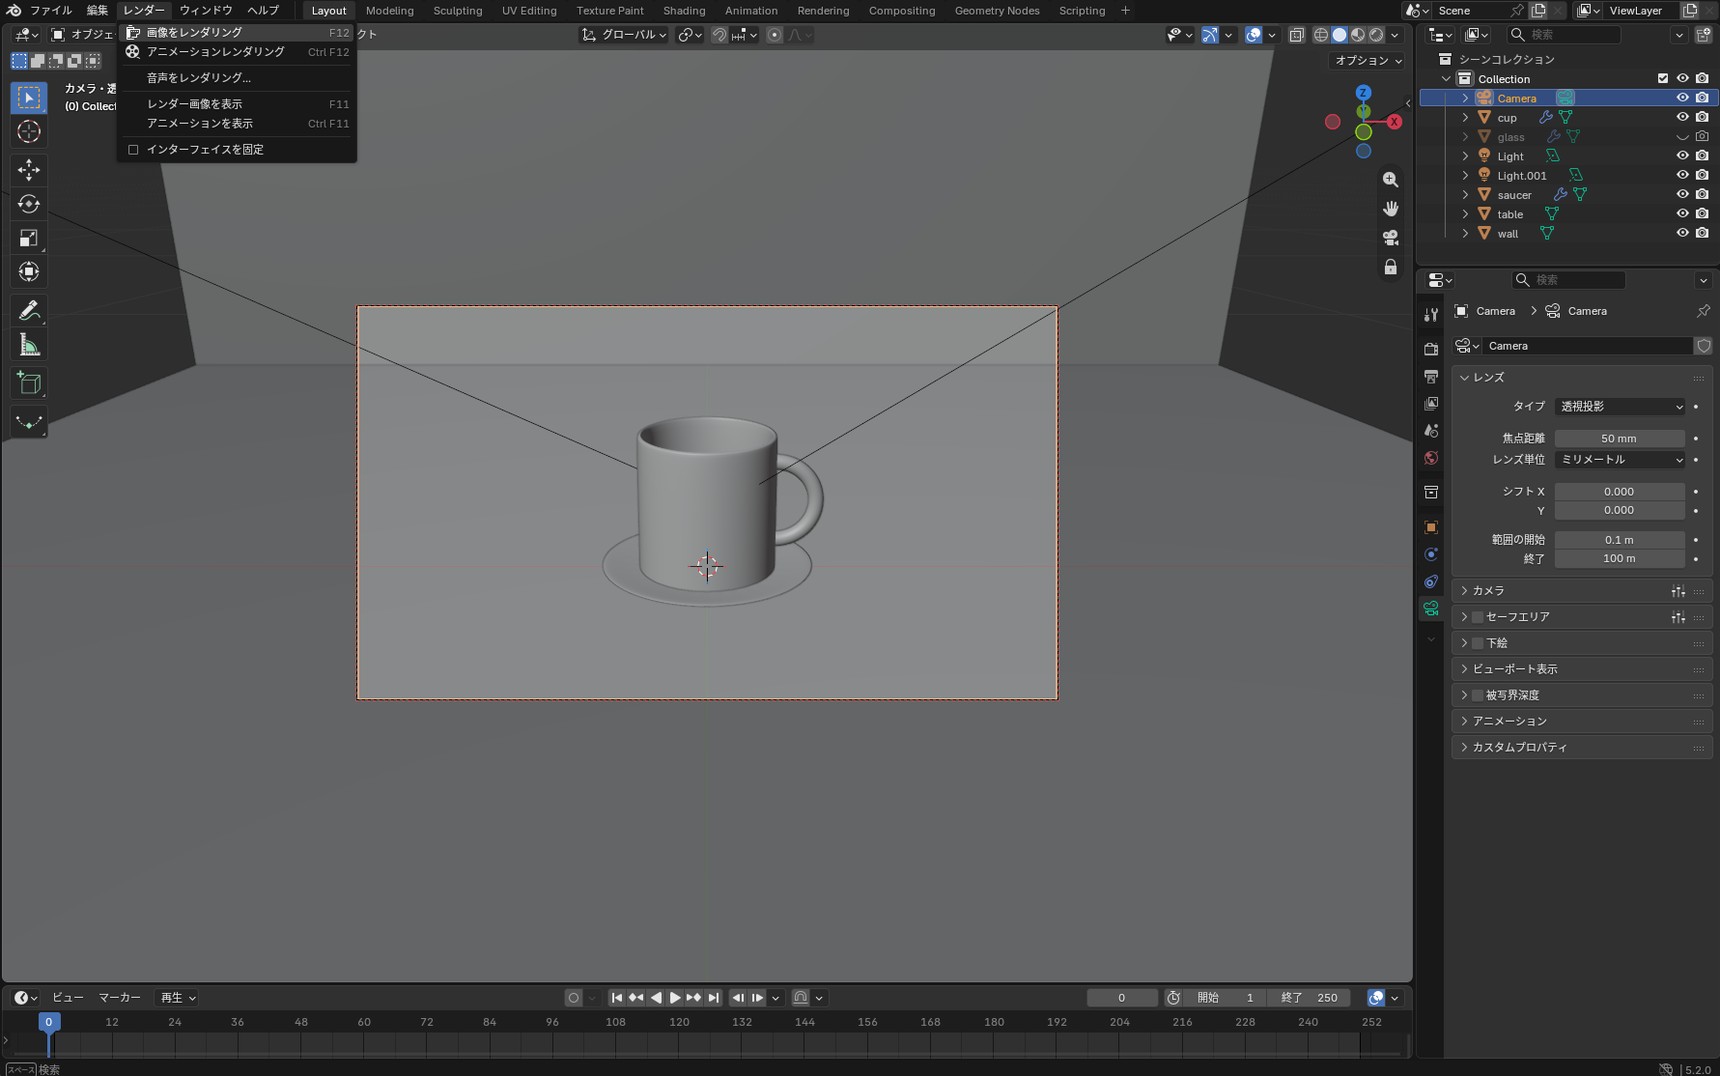
With the camera framed, press F12, or choose "Render Image" from the "Render" menu in the header. A separate window opens and the render starts.
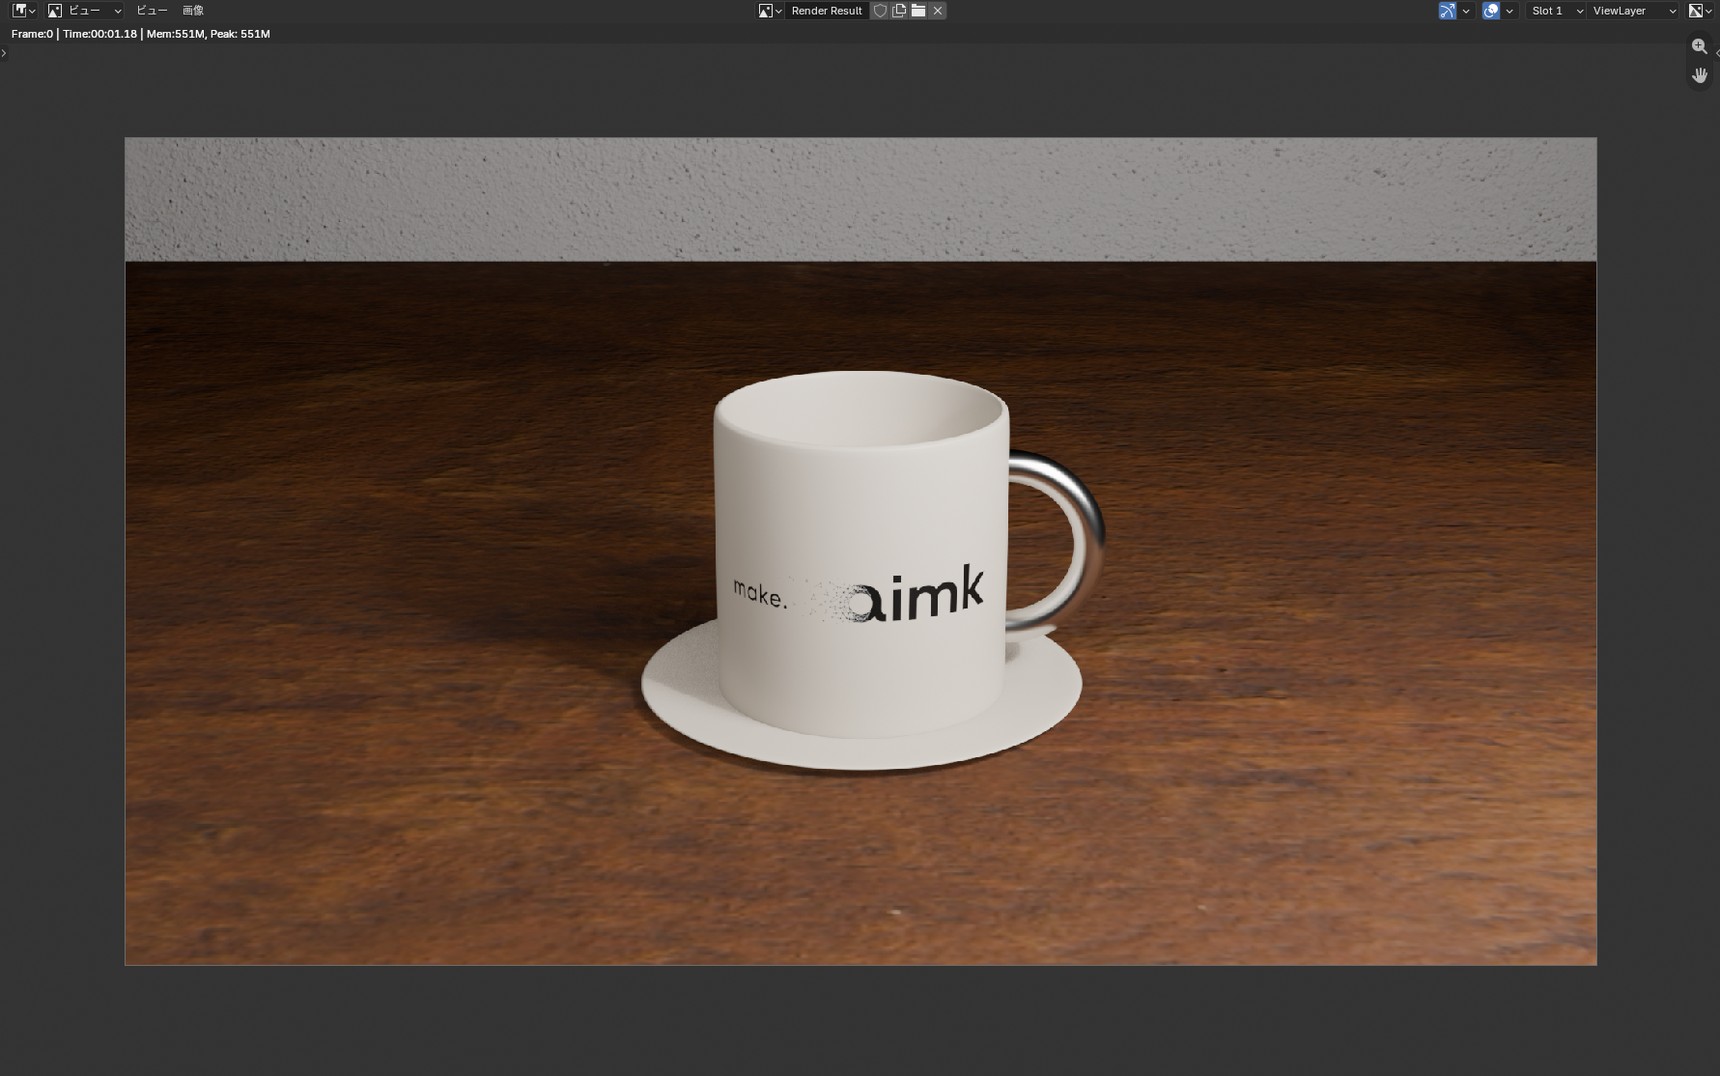
How this differs from Rendered view is covered in the column "Rendered view and rendering are not the same thing".
Save it as an image file
What you're looking at hasn't been saved to disk yet. In the render window, choose "Save As" (Shift + Alt + S) from the "Image" menu, then pick a location and a file name.

Resolution and file format are set in Output Properties. The defaults are 1920 × 1080 pixels, saved as PNG.
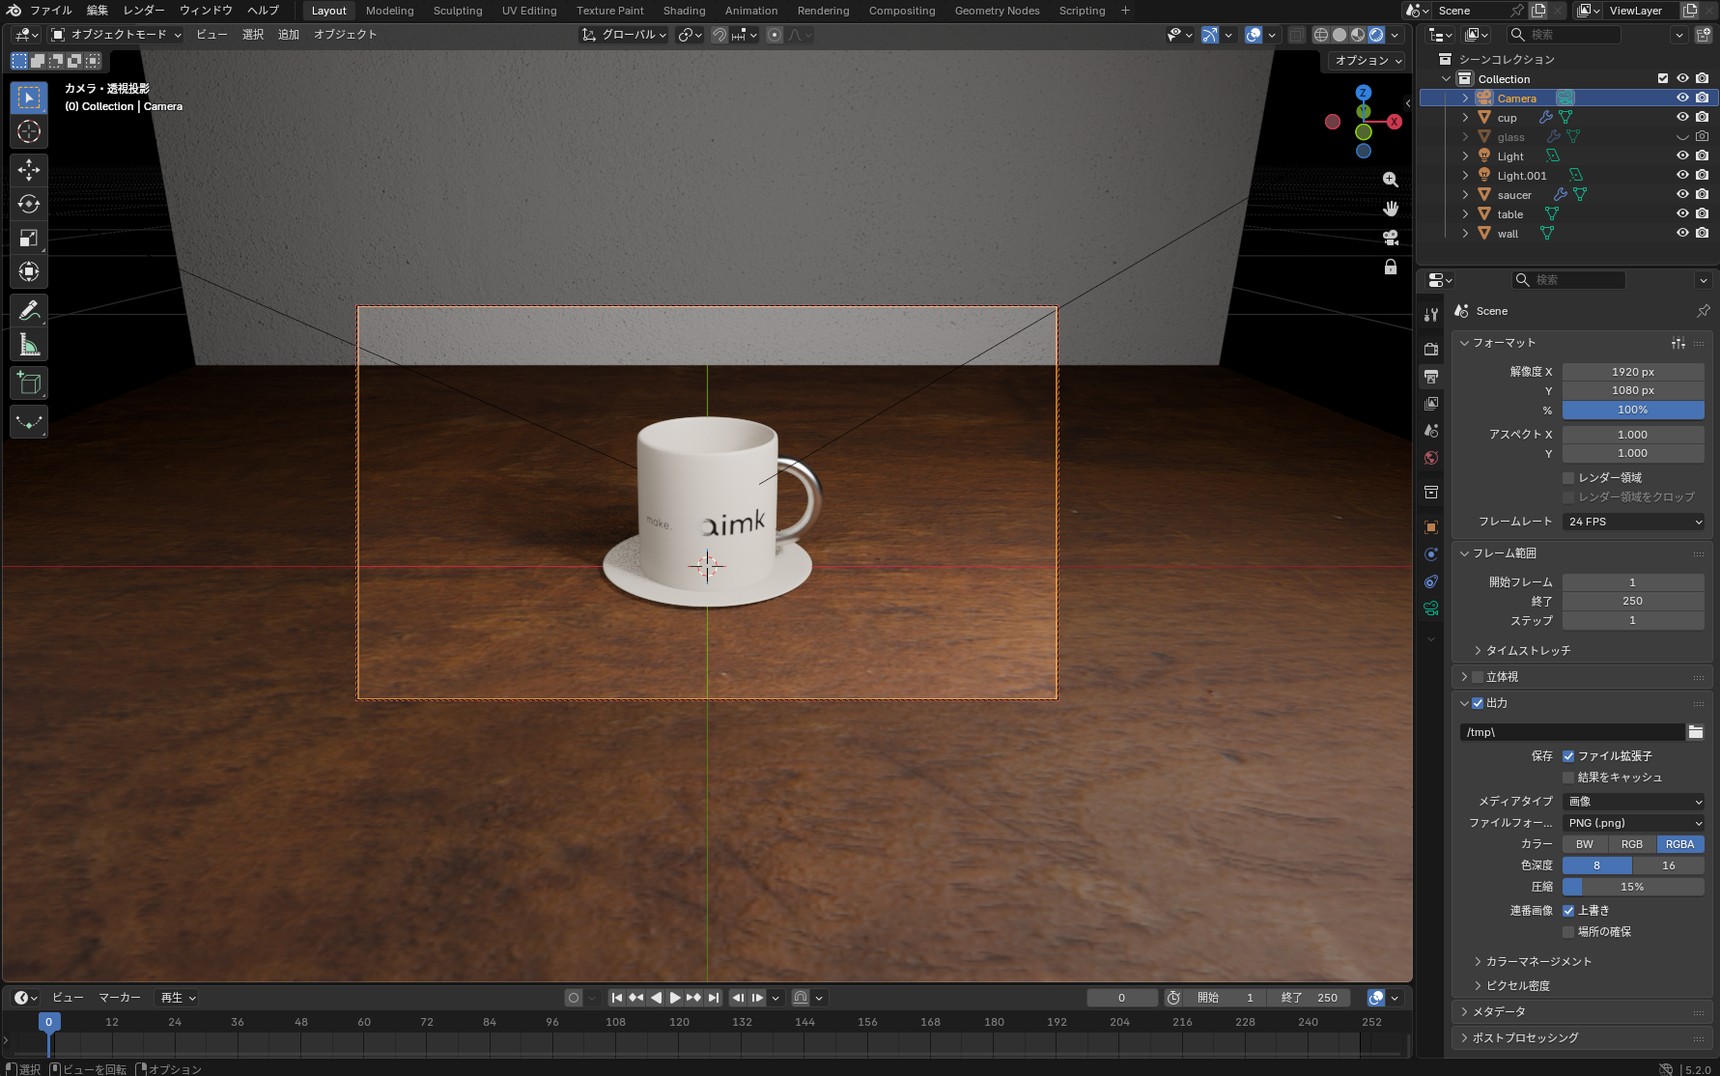
Switching between EEVEE and Cycles
Blender's two main render engines are EEVEE and Cycles. You switch between them with "Render Engine", at the top of Render Properties.
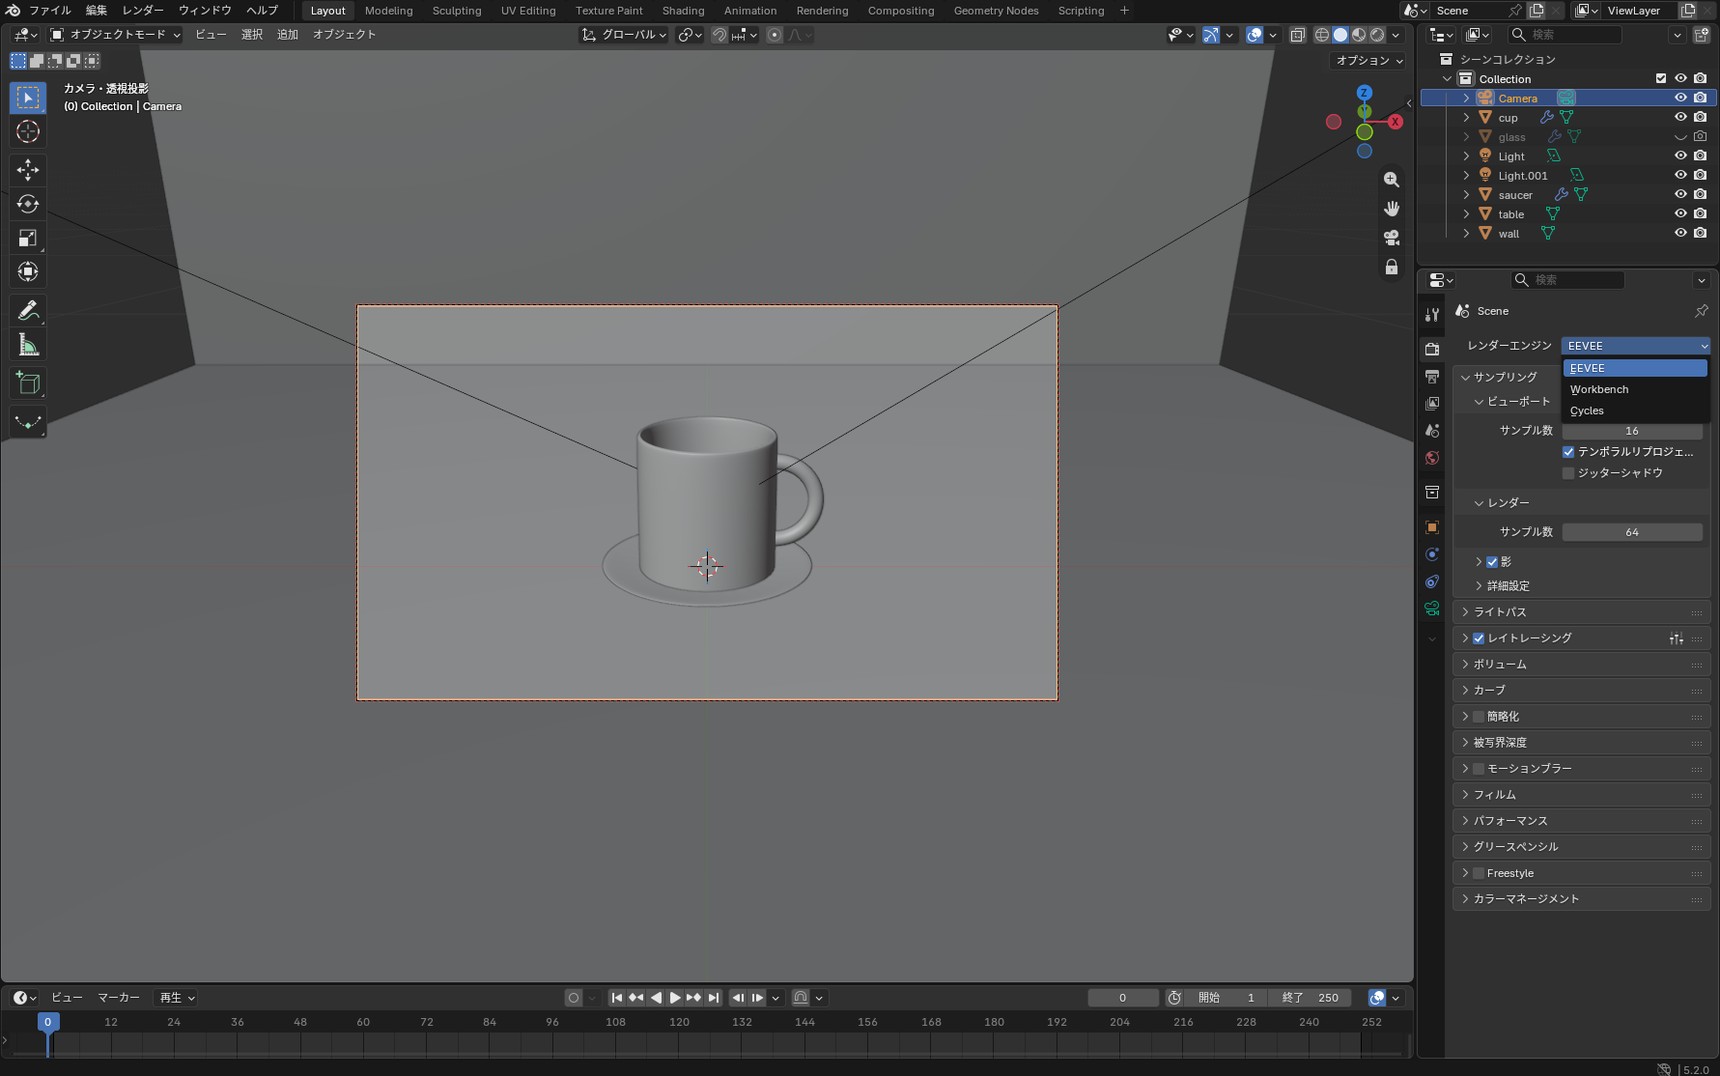
Every article so far has used EEVEE, the default. Cycles is the other one: it traces reflection, refraction, and the rest in detail, reproducing the way light behaves in reality.
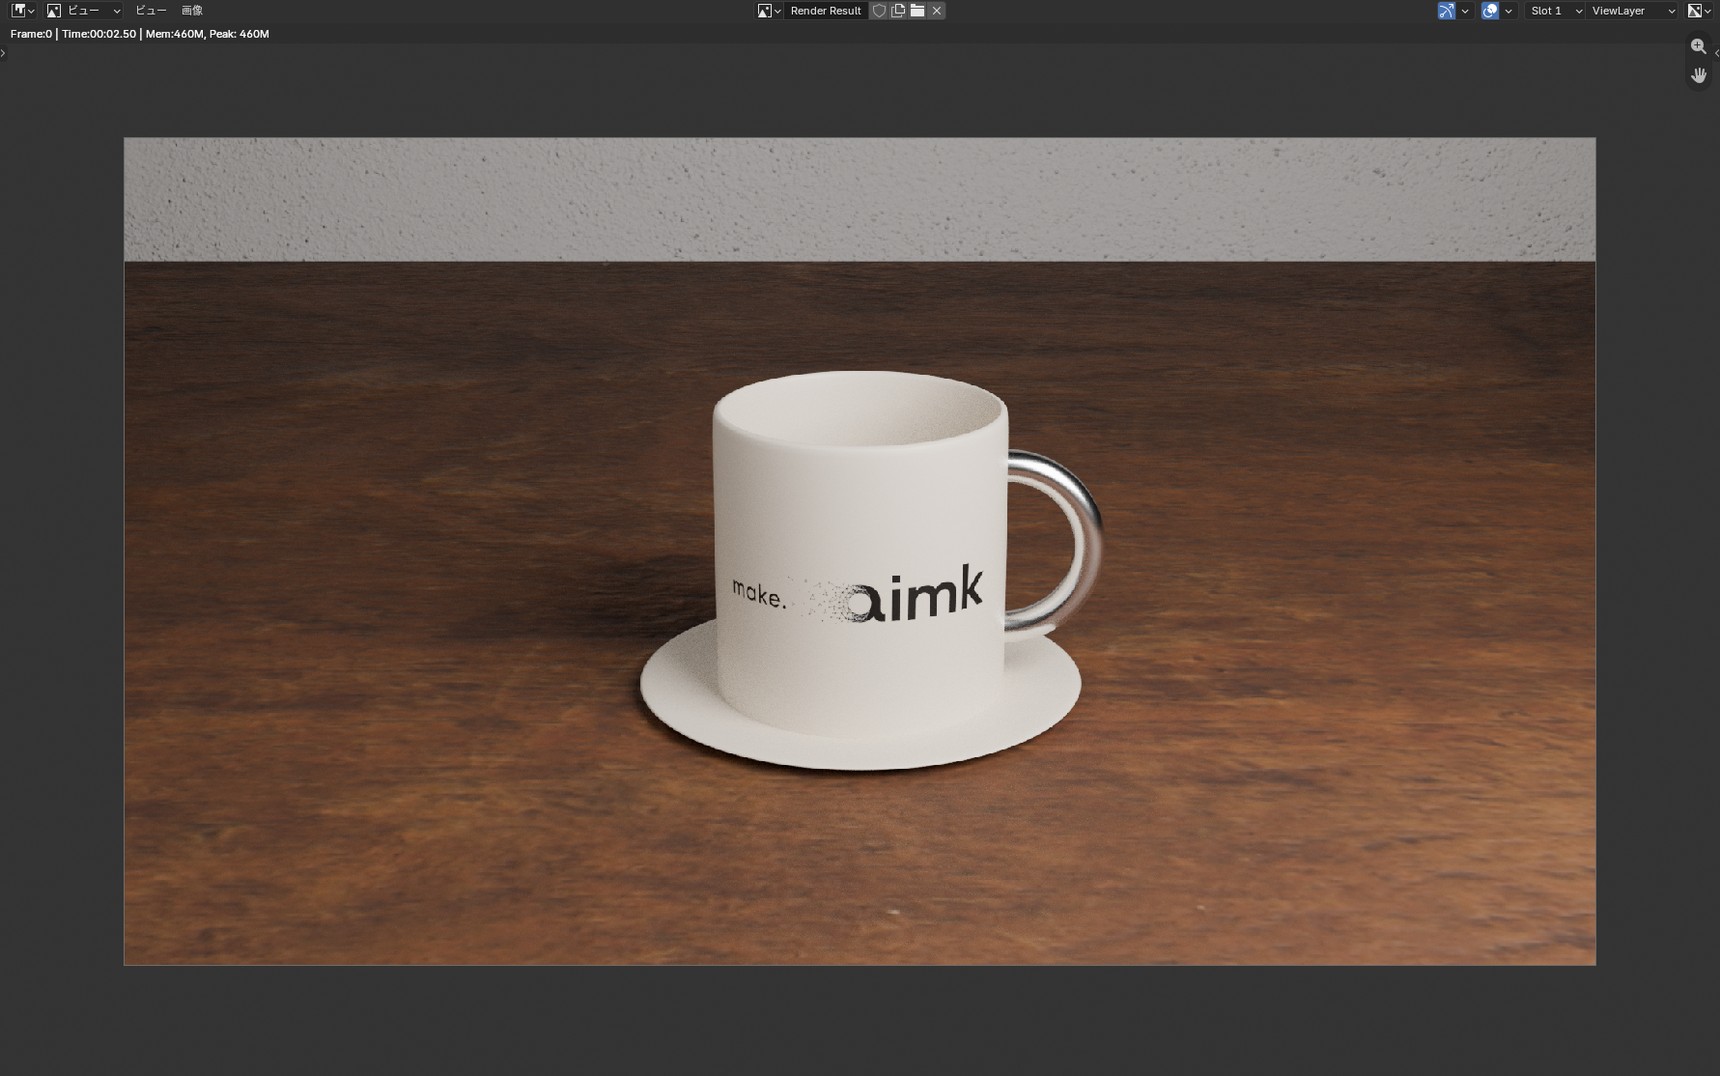
Rendering this cup in both engines, the results came out almost identical.
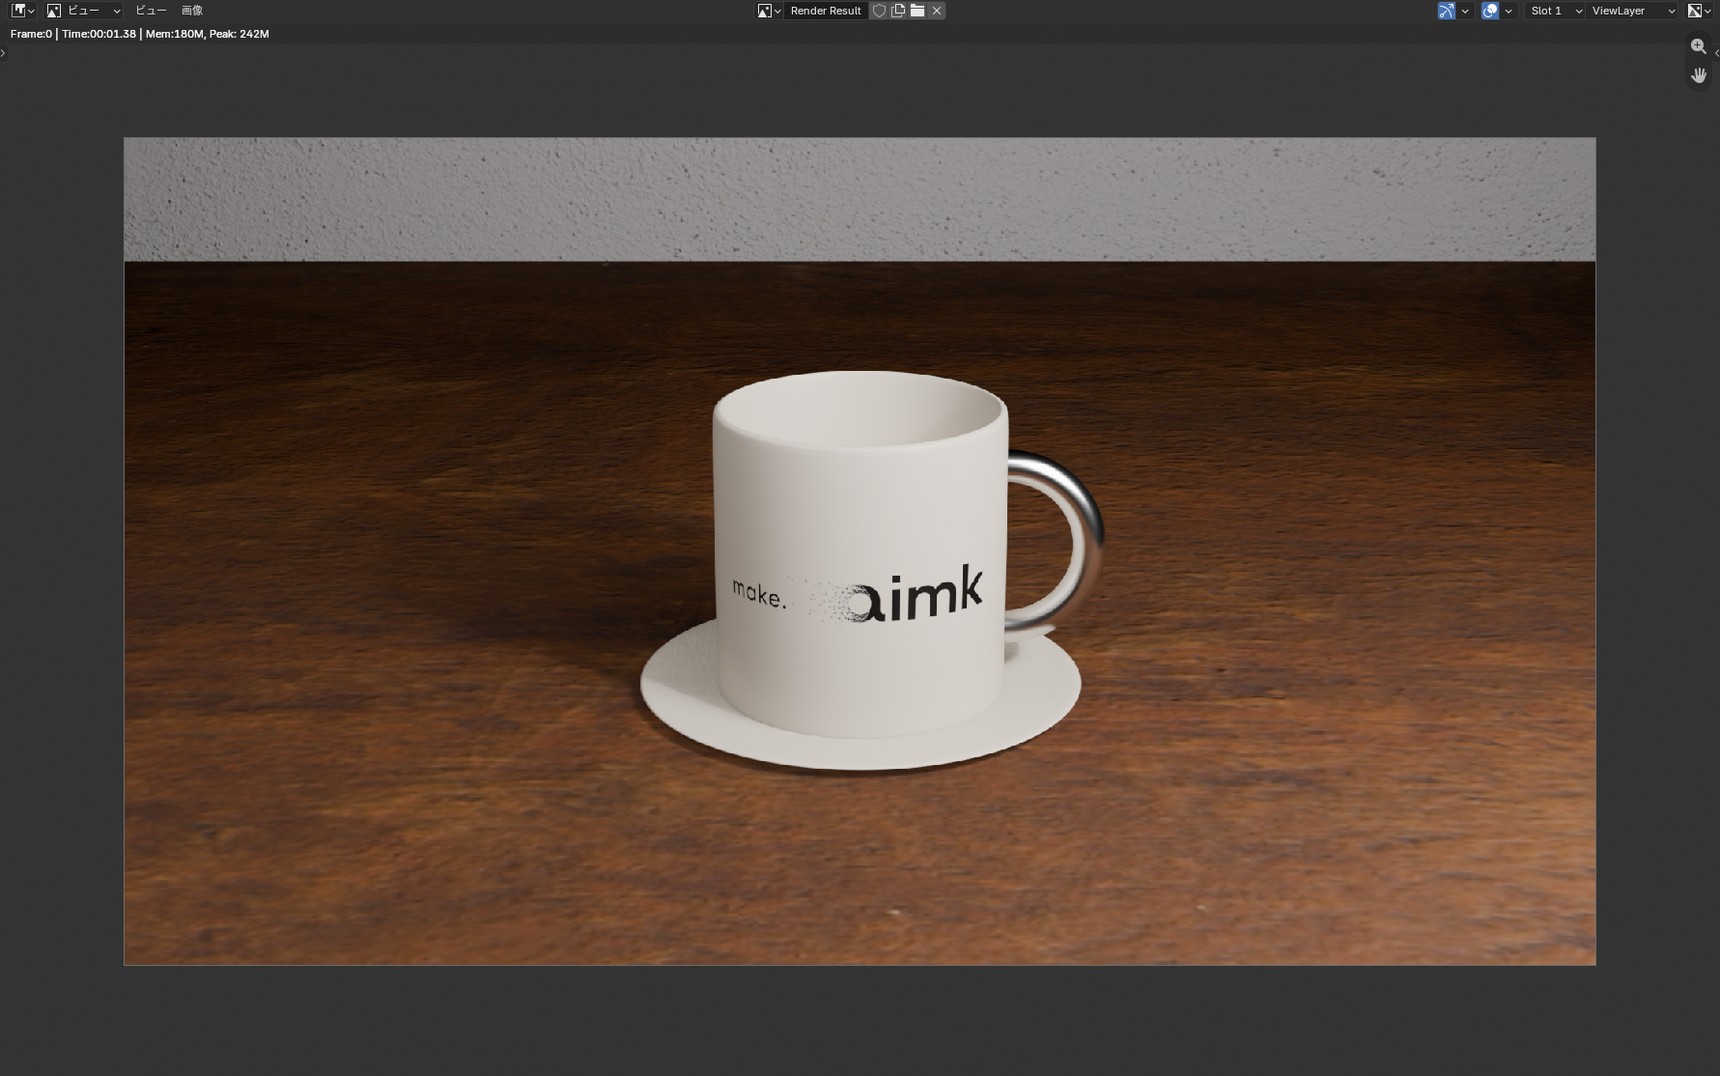
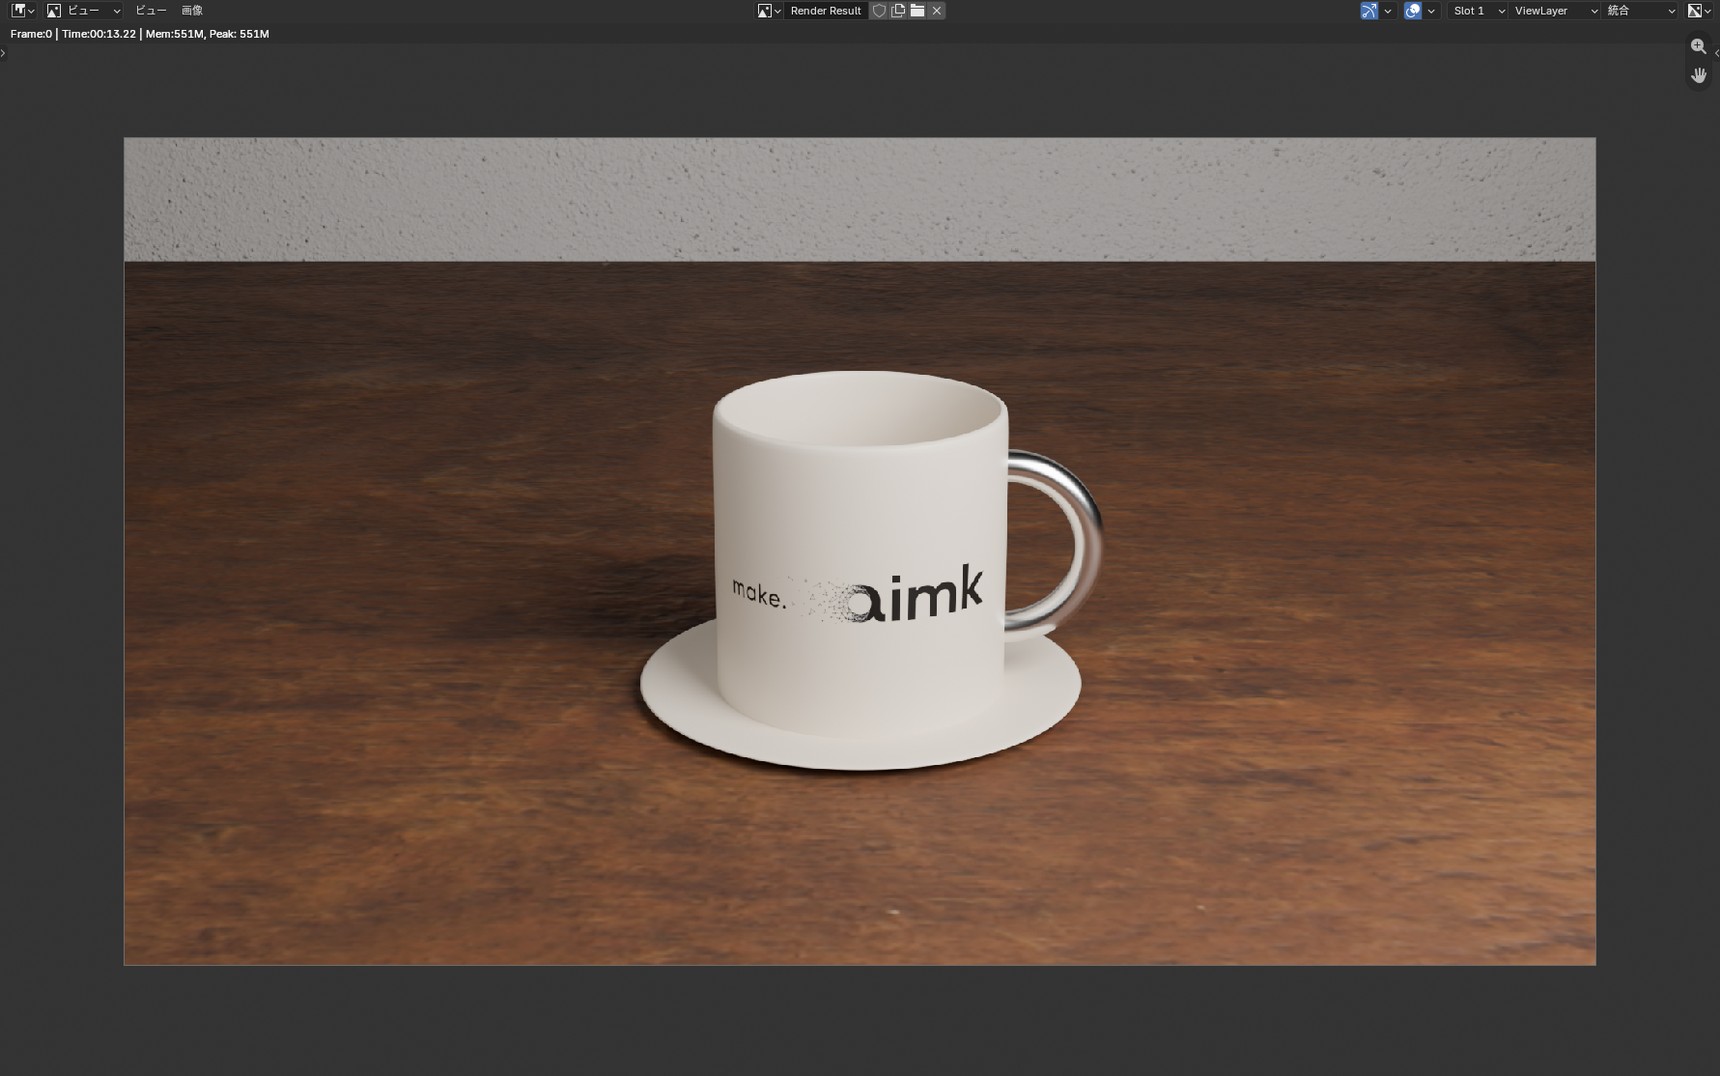
What did differ was the time. EEVEE took about 1 second, Cycles about 13.
The results held together because this is a simple scene with a single cup in it. Where light behaves in complicated ways — refraction through glass, or an interior where light bounces repeatedly — Cycles gets closer to how light behaves in reality.
What's inside "Sampling" depends on the engine
Open "Sampling" in Render Properties. The panel carries the same name in both engines, but what's inside it differs.
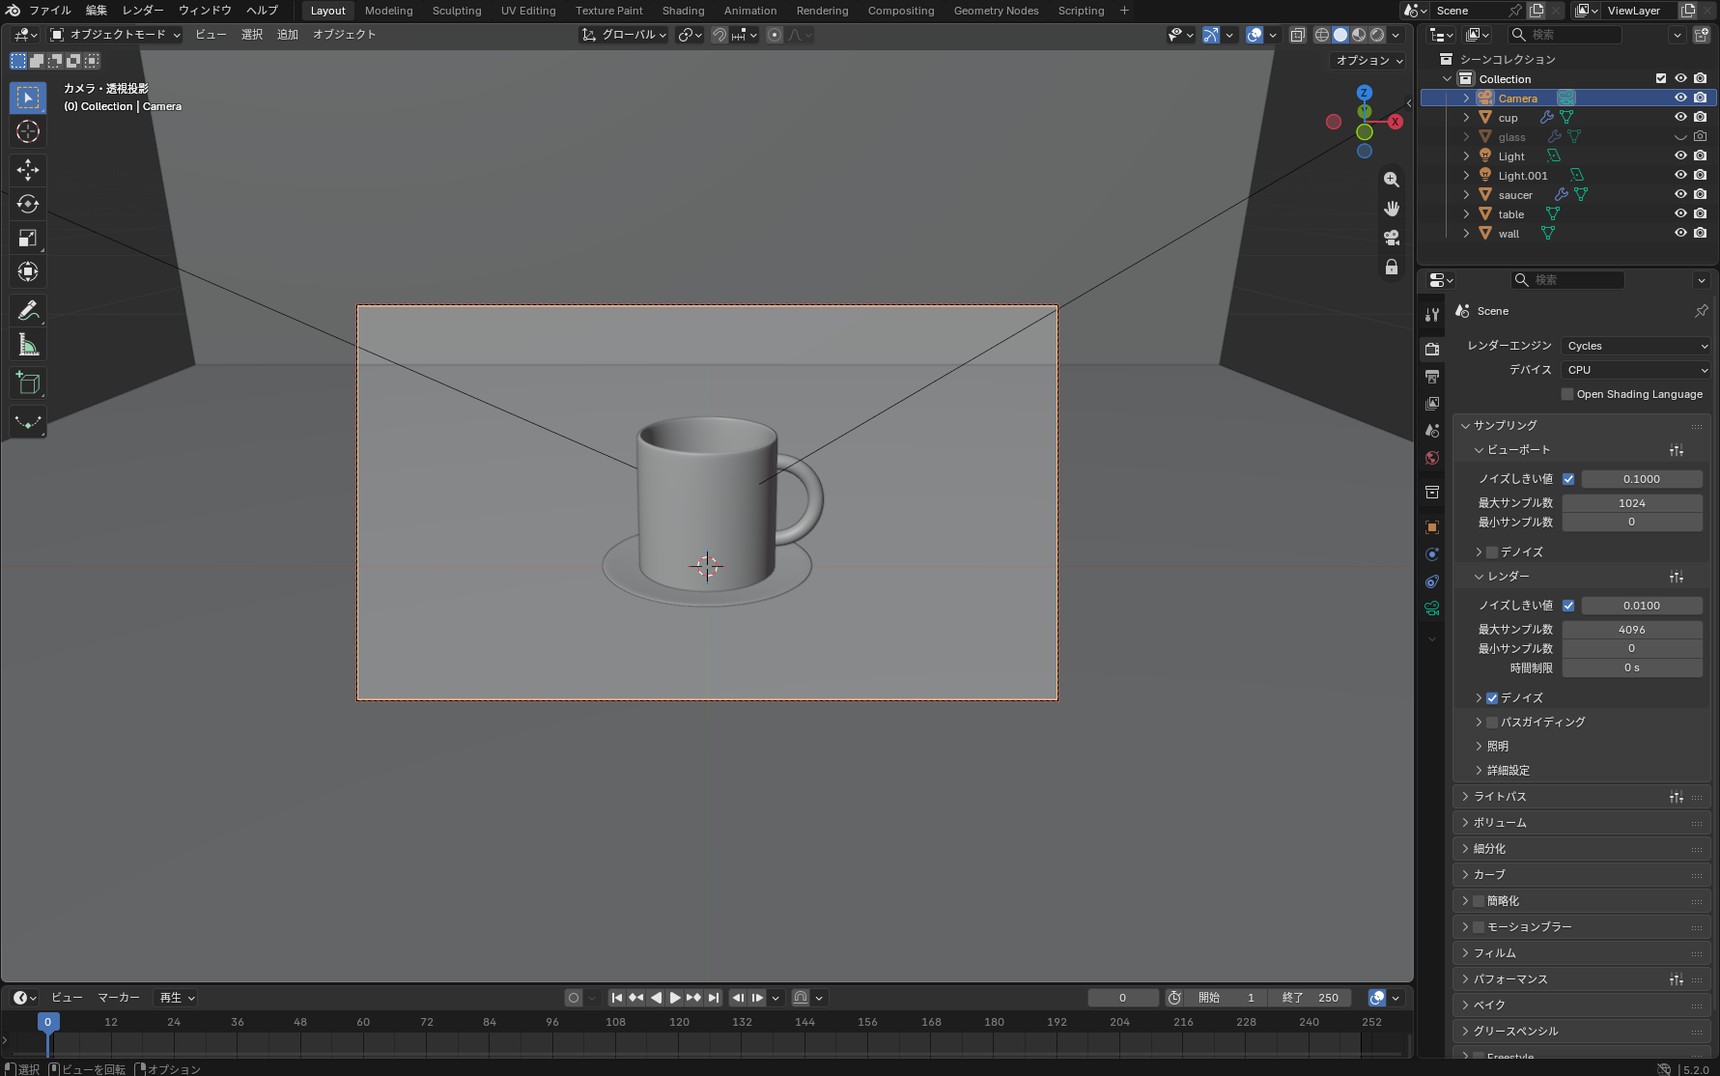
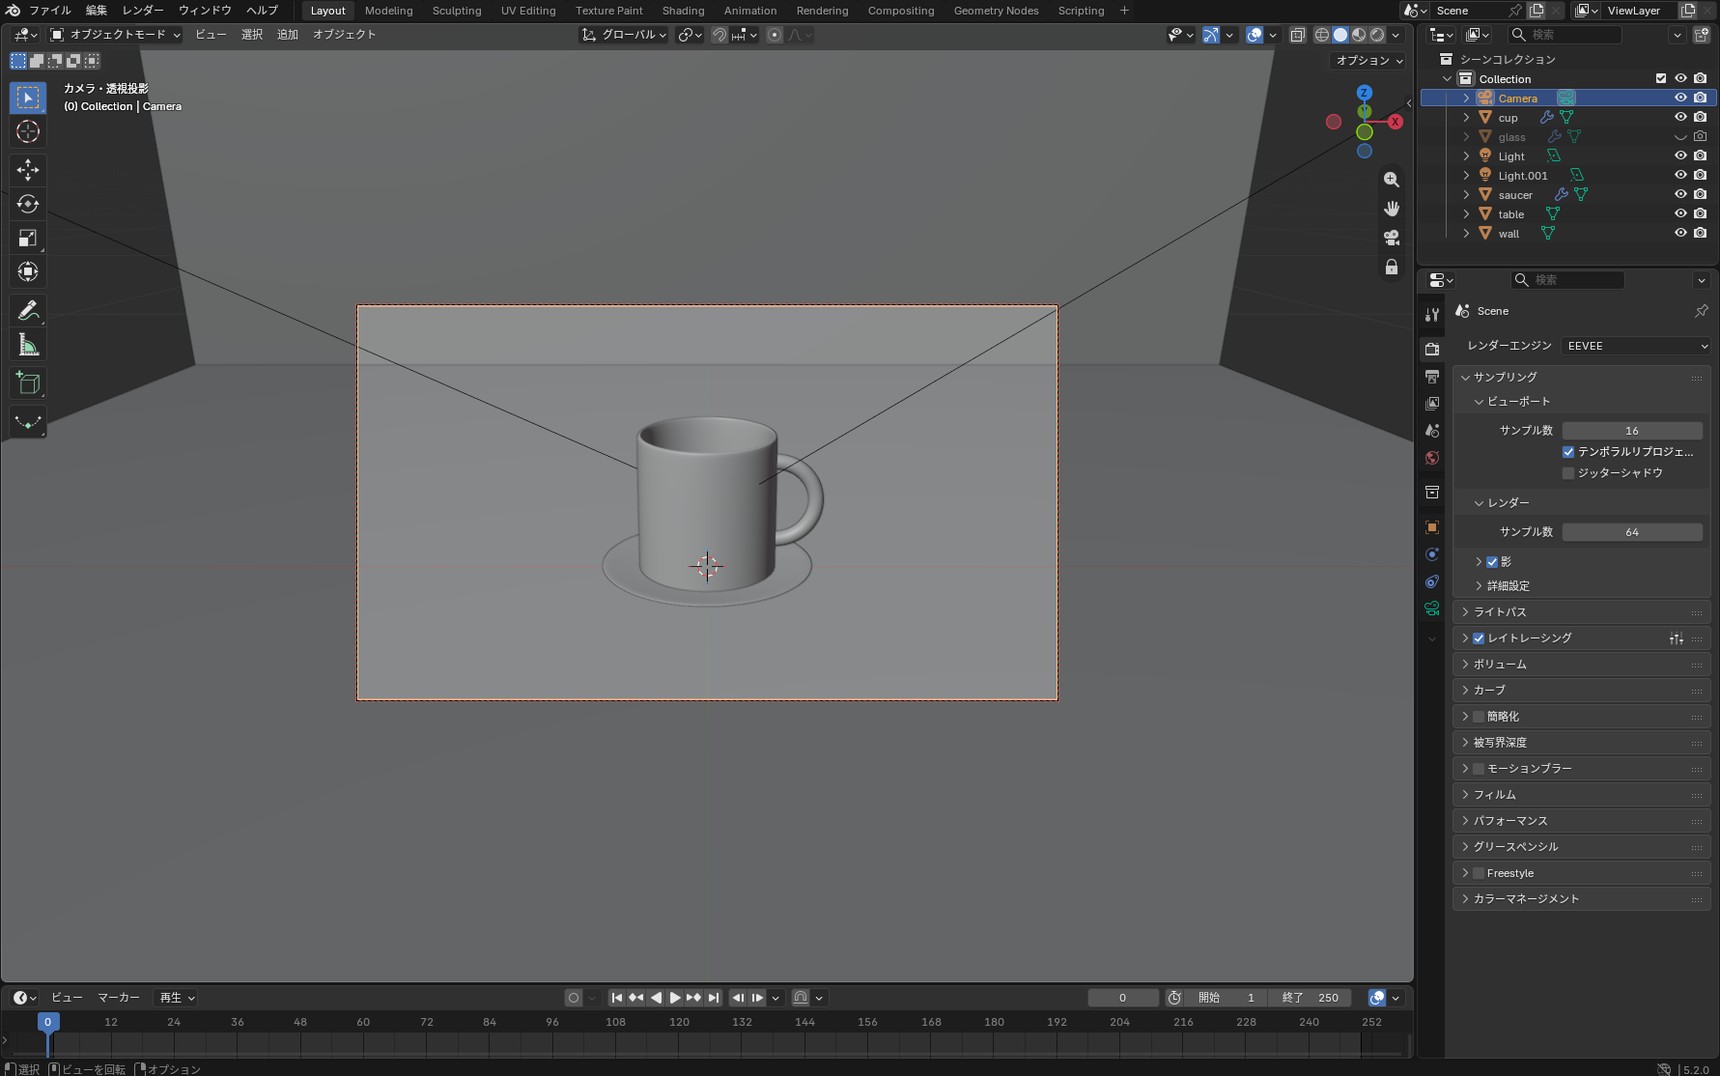
Cycles traces the paths light could take into a single pixel over and over, then averages them to decide its colour. While the count is still low the results vary, and that variation is what shows up as grainy noise.
"Noise Threshold" is a target: once noise in a pixel has dropped this far, Cycles stops calculating it. "Max Samples" is the ceiling on how many times it will calculate.
EEVEE's "Sampling" has "Samples" as its basic setting instead. There's no "Noise Threshold" and no "Denoise". It draws using the sample count you give it, so it never stops a pixel part-way based on how much noise is left.
The mechanism in Cycles that finishes pixels early once their noise has dropped far enough is called adaptive sampling. "Noise Threshold" is ticked out of the box, so adaptive sampling is already in use without you changing anything.
How far "Noise Threshold" gets you
We'll switch to Cycles from here. When noise bothers you, "Noise Threshold" is the first thing to look at. The lower the number, the longer Cycles keeps calculating to reduce noise.
Here's what changing "Noise Threshold" on its own did, with "Denoise" switched off.
| Noise Threshold | Time taken | Result |
|---|---|---|
0.1 |
About 2 seconds | Noise visible on the white of the cup |
0.05 |
About 2 seconds | Much the same as 0.1 |
0.01 (default) |
About 9 seconds | Noise all but gone, wood grain smooth |
0.001 |
About 134 seconds | Indistinguishable from 0.01 |

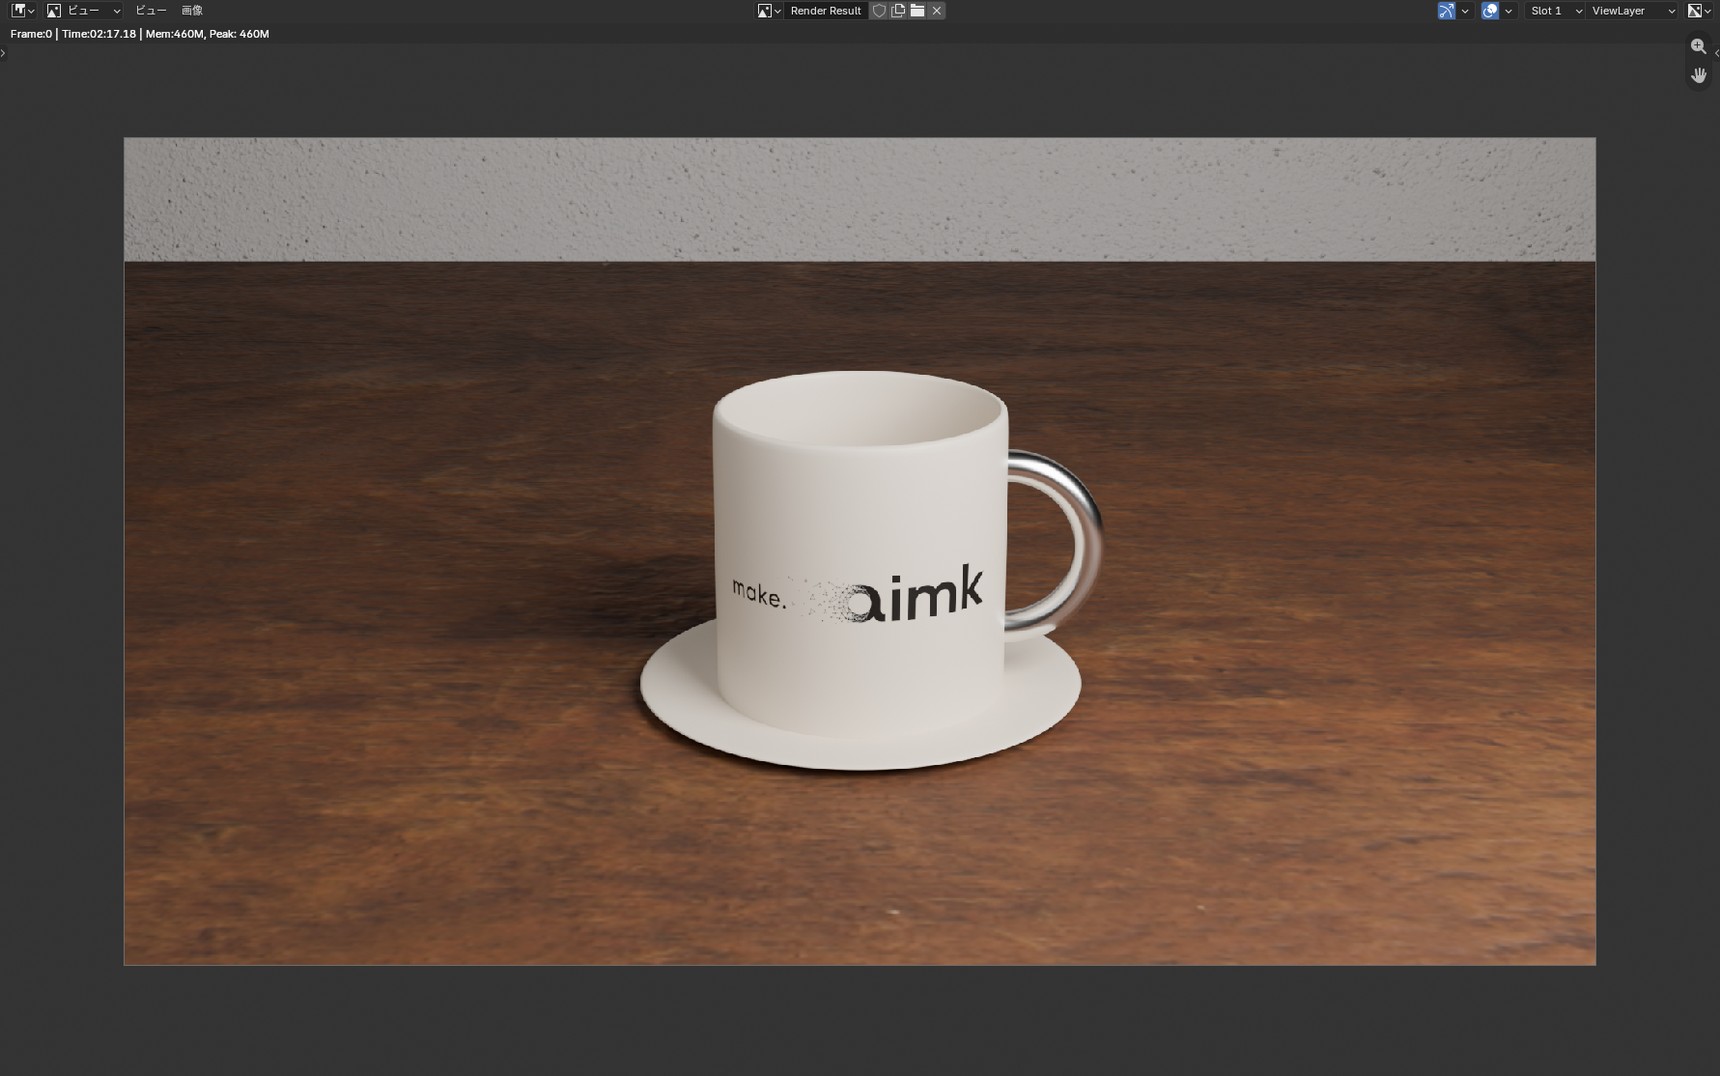
The results fall into three bands. Between 0.1 and 0.05, the image barely changed. Between 0.05 and 0.01, noise dropped sharply and the extra time bought a genuine
improvement. Between 0.01 and 0.001, only the render time grew, and the difference on screen was hard to find.
The default of 0.01 sits right where the improvement levels off. On this coffee cup, going below it gained almost nothing, and the default struck the better balance between quality and render time.
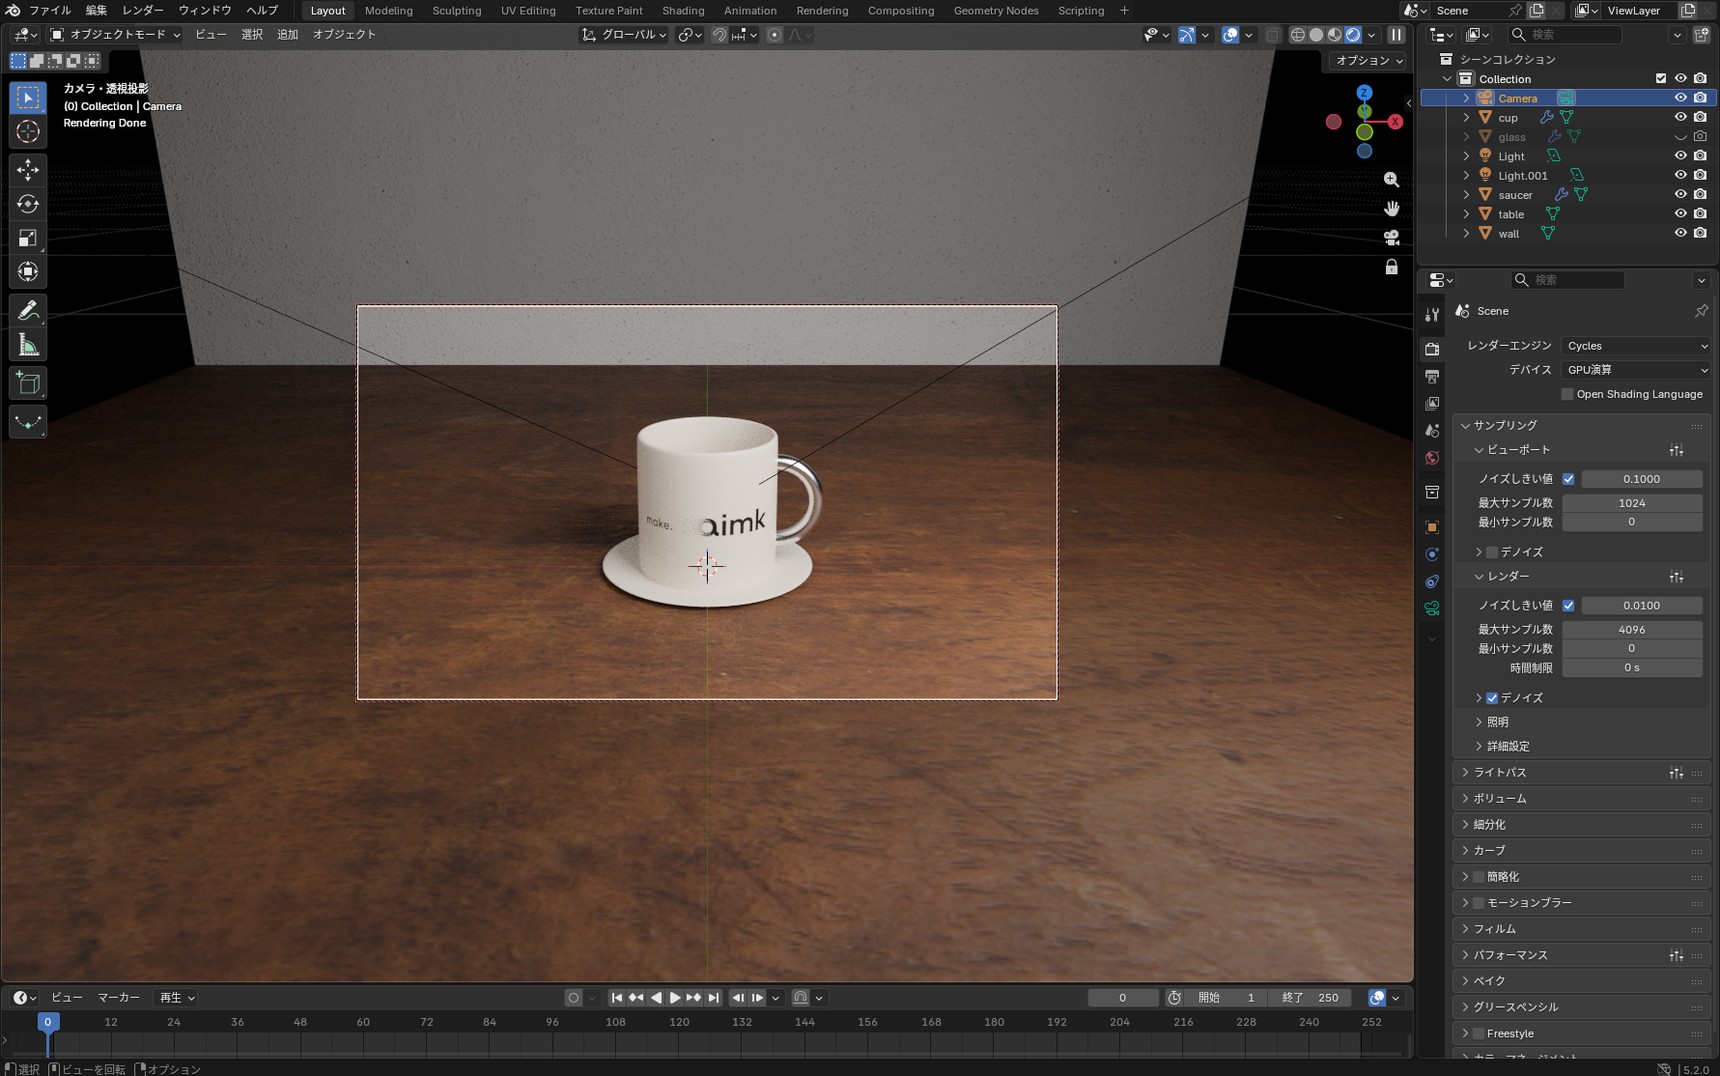
That said, this is a fairly simple scene: opaque ceramic and a wooden table with a light on them. With a material that bends light in complicated ways, such as glass, or a scene with large areas the lights don't reach directly, noise can remain even at the default.
Lowering "Max Samples" saves less time than you'd expect
The next setting to look at is "Max Samples". Its default of 4096 is a large number.
Here's what happened with "Noise Threshold" left at 0.01 and "Max Samples" lowered on its own.
| Max Samples | Time taken | Result |
|---|---|---|
4096 (default) |
About 13 seconds | Baseline |
512 |
About 9 seconds | Same as 4096 |
256 |
About 8 seconds | Same as 4096 |
128 |
About 7 seconds | Same as 4096 |
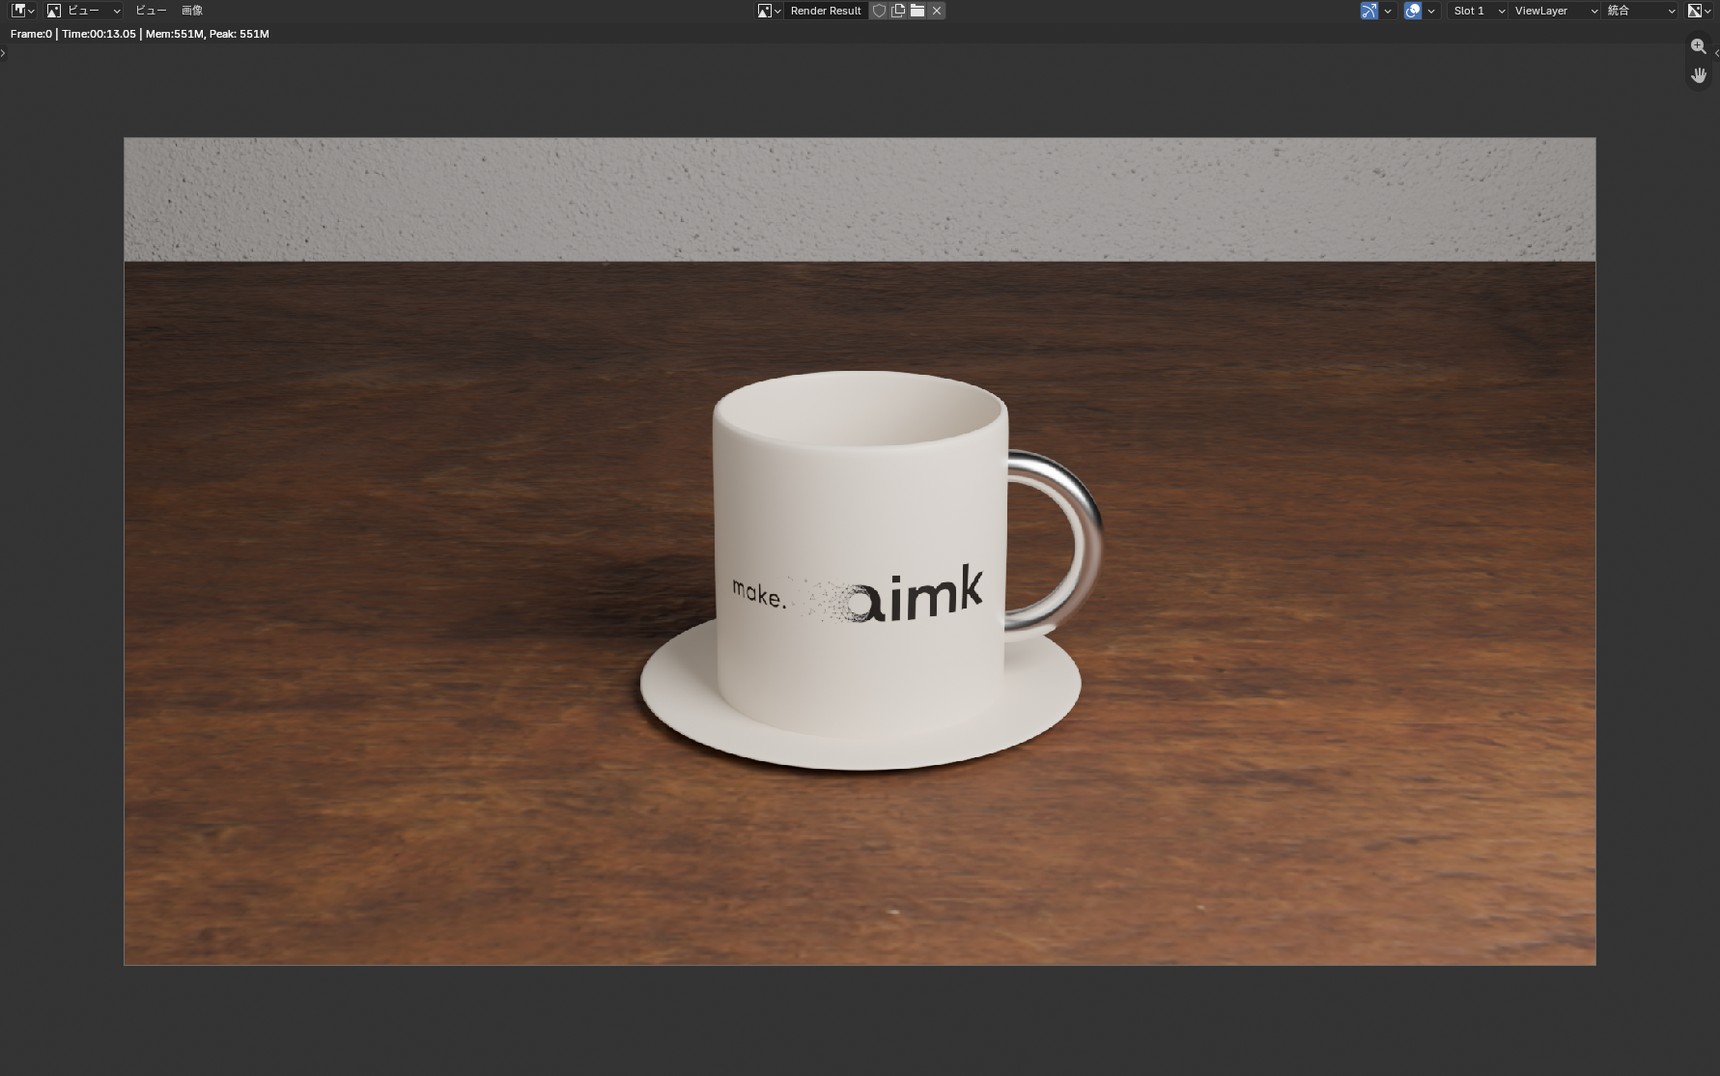
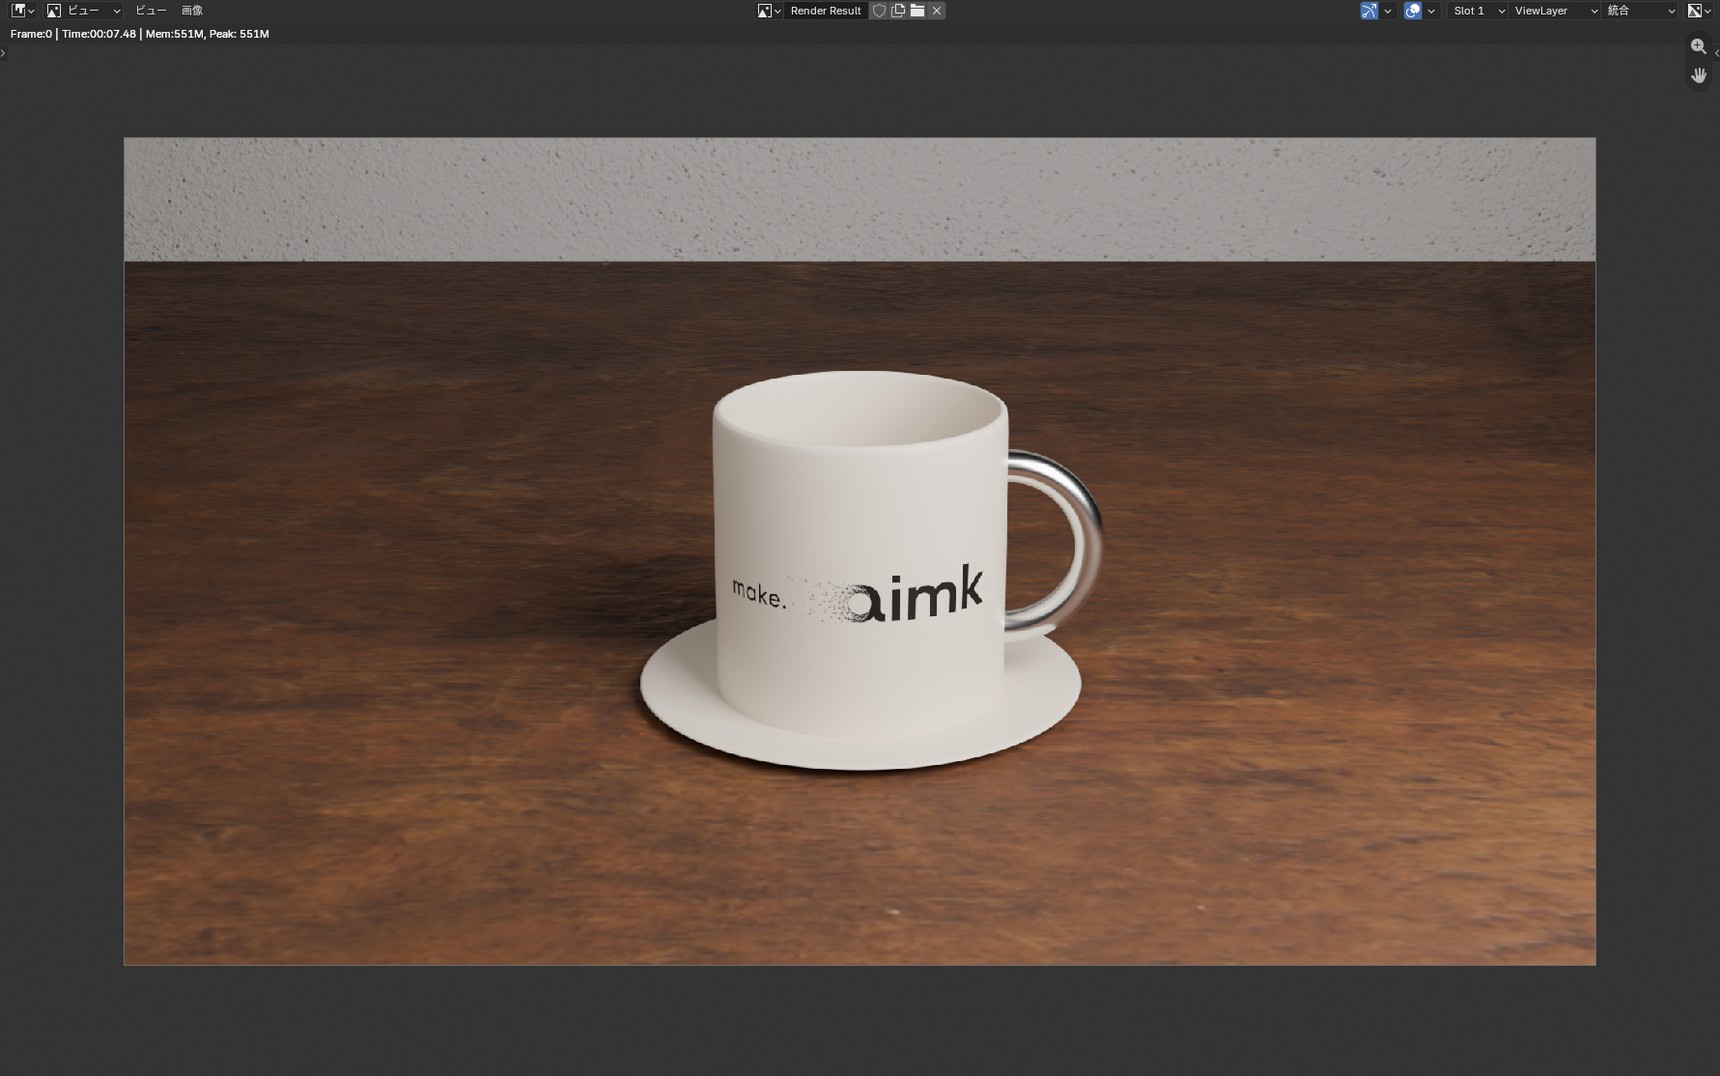
Going all the way from 4096 down to 128 barely changed the result. What it saved was about 6 seconds.
If every pixel really were being calculated 4096 times, dropping "Max Samples" to 128 ought to cut the work by the same factor. In practice the gap is nothing like that, because pixels whose noise has dropped far enough finish before they ever reach the ceiling. Not every pixel gets calculated 4096 times.
It's also why the saving shrinks the further you lower "Max Samples". Pixels that already stopped part-way are barely affected by a lower ceiling. On this coffee cup, leaving "Max Samples" at its default was fine too.
Three settings that do shorten render time
Neither of the two settings above bought much time back. These three did.
Set "Device" to GPU Compute
"Device" sits at the top of Render Properties, directly under "Render Engine". It defaults to CPU.

Switching it to GPU Compute took this cup from about 59 seconds to about 13.
Sometimes it keeps rendering on the CPU even with GPU Compute selected. When that happens, open "Edit" → "Preferences" → "System", choose a back end under "Cycles Render Devices", and tick the GPU you want to
use.
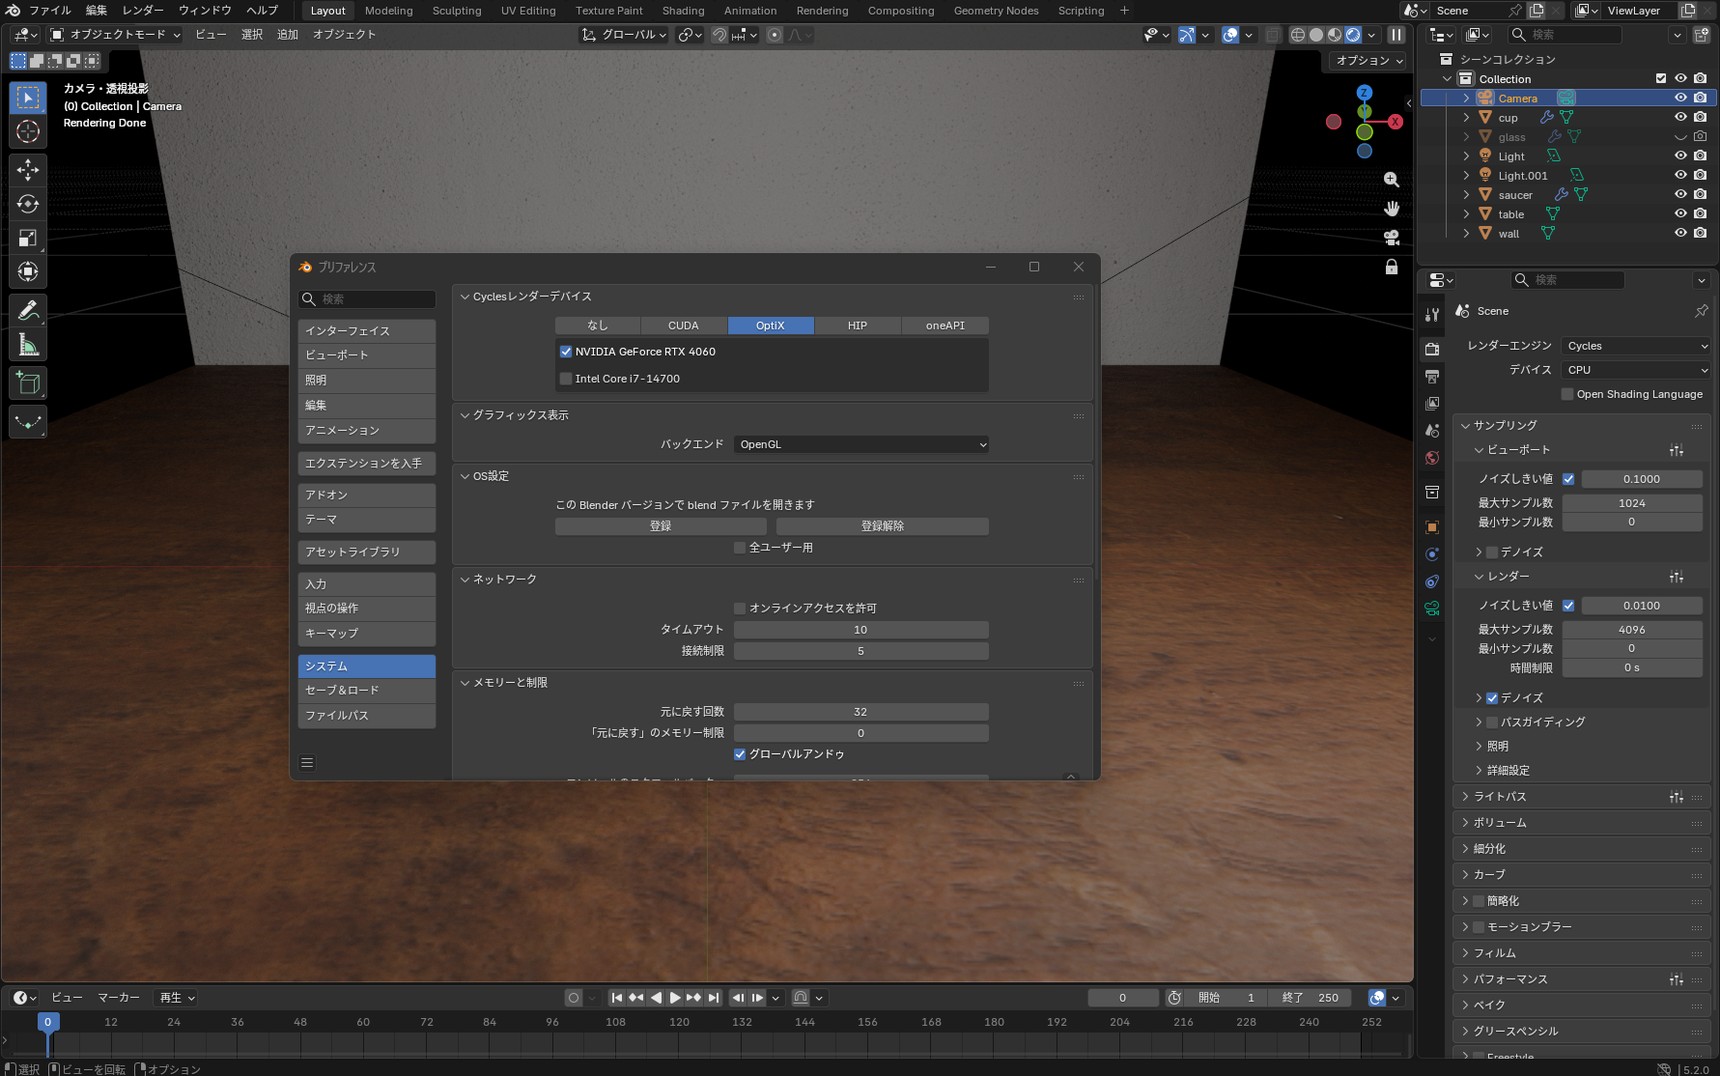
What you're choosing between are the GPU back ends Blender supports. Leave it on None and the GPU stays unused, so pick the one your card can use. NVIDIA cards can use OptiX or CUDA;
this article used OptiX.
Use EEVEE where EEVEE is enough
As we saw in "Switching between EEVEE and Cycles", the two engines gave almost the same result on this cup. The times were about 1 second for EEVEE and about 13 for Cycles.
One way to work is to check in EEVEE as you go and switch to Cycles only for the final image.
Drop the resolution for test renders
The "%" under "Format" in Output Properties lowers the resolution of the image you write out.
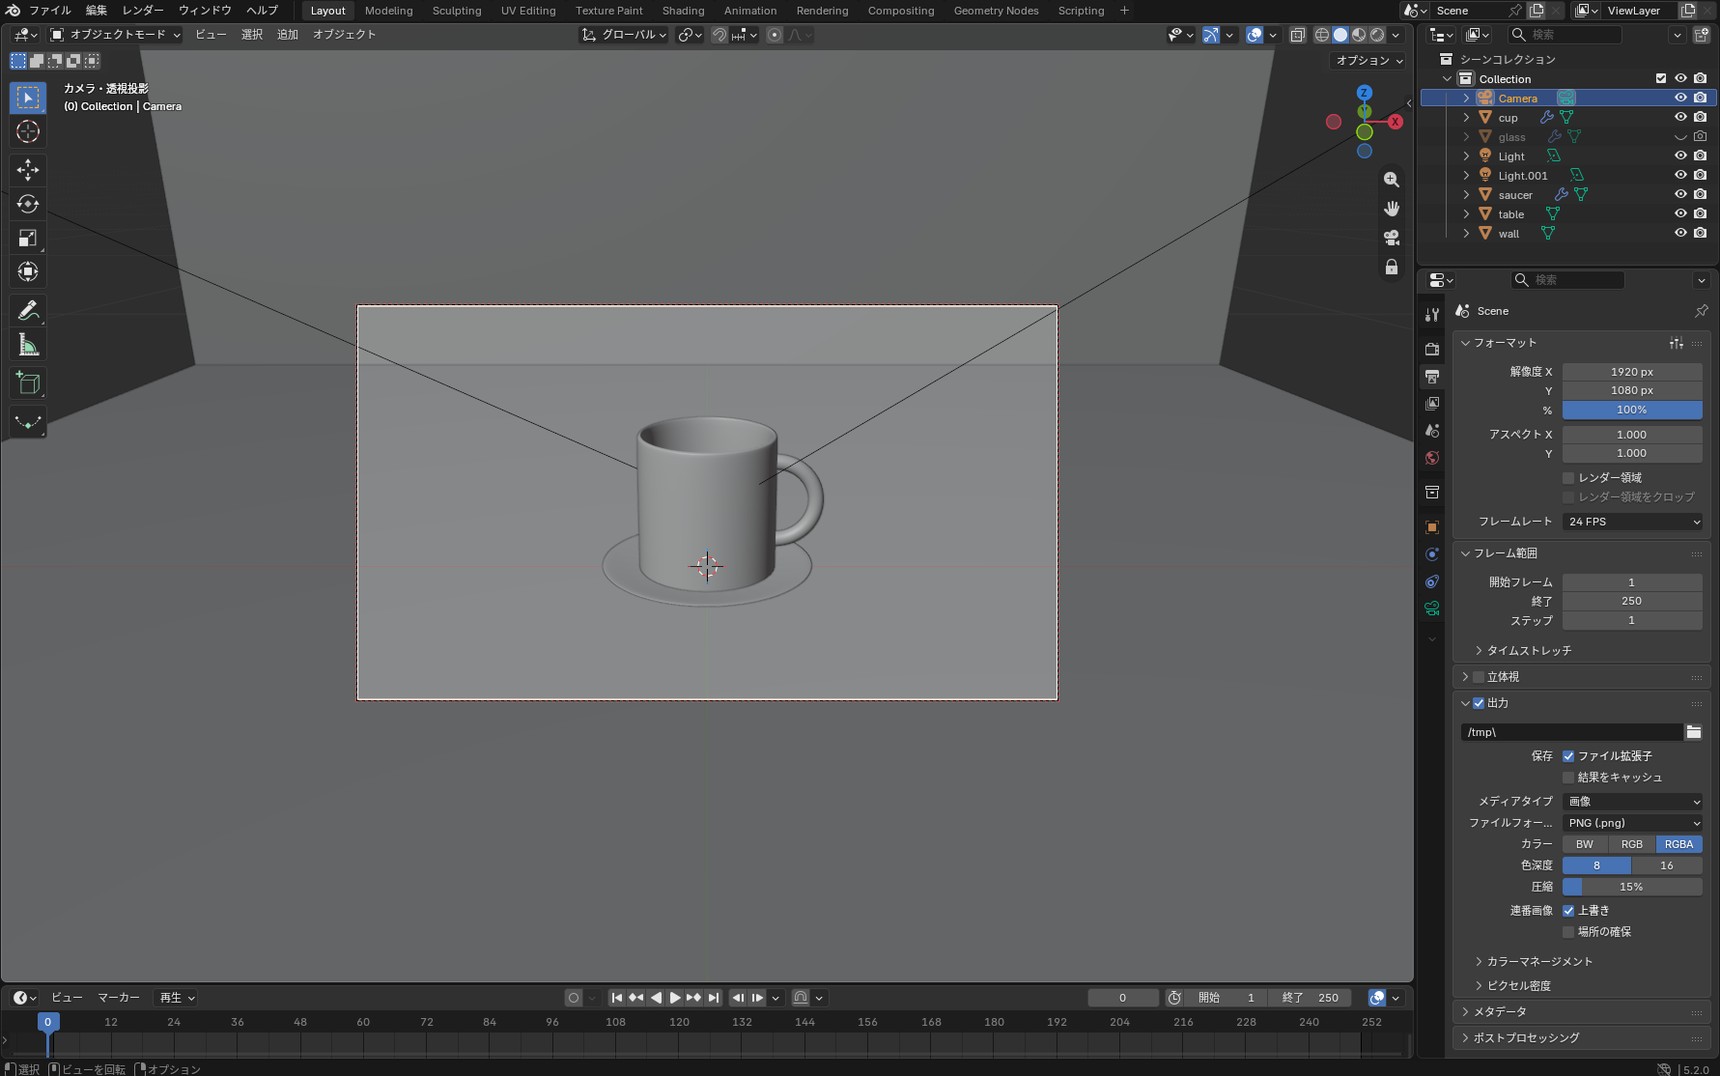
On this cup, 50% took about 4 seconds and 25% about 2. At 25% the pixel count is a sixteenth of 100%, and the render time came down to about a seventh.
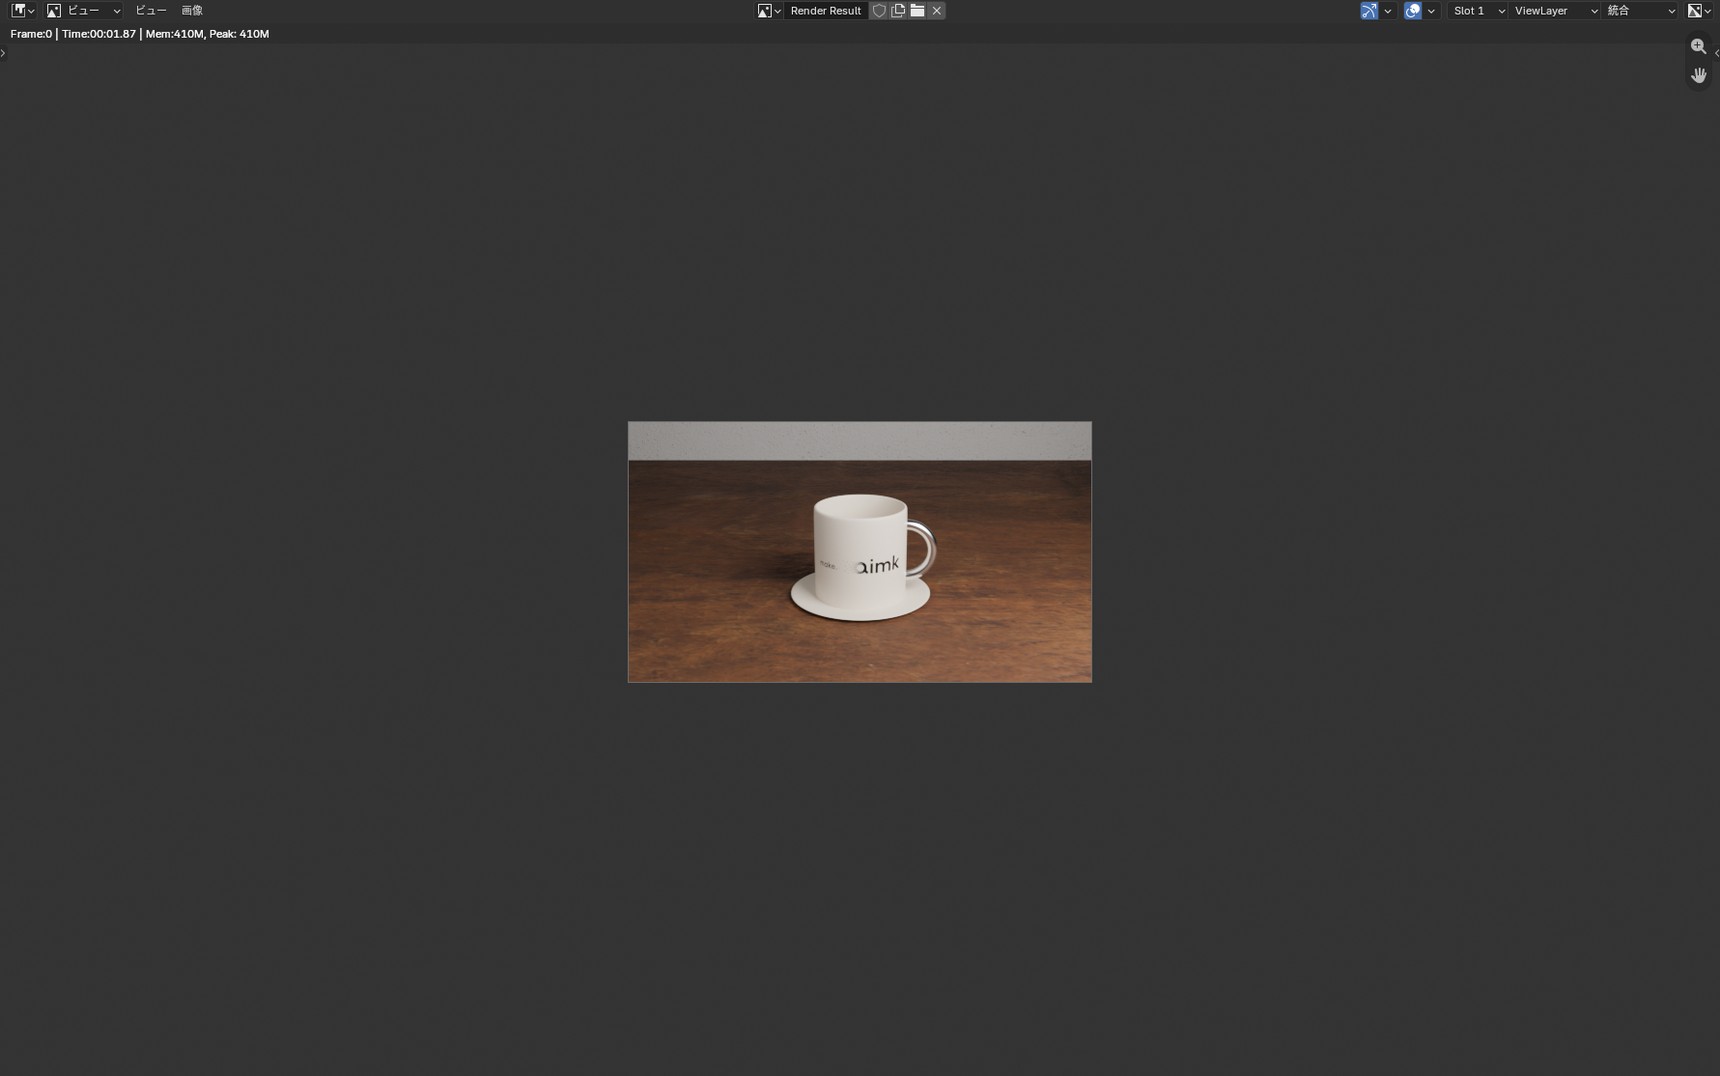
The image itself comes out smaller, though, so this is a setting for checking your work. Put it back to 100% for the final render.
When EEVEE leaves speckle in the shadows
Switch "Render Engine" back to EEVEE. EEVEE can leave a grainy speckle behind.
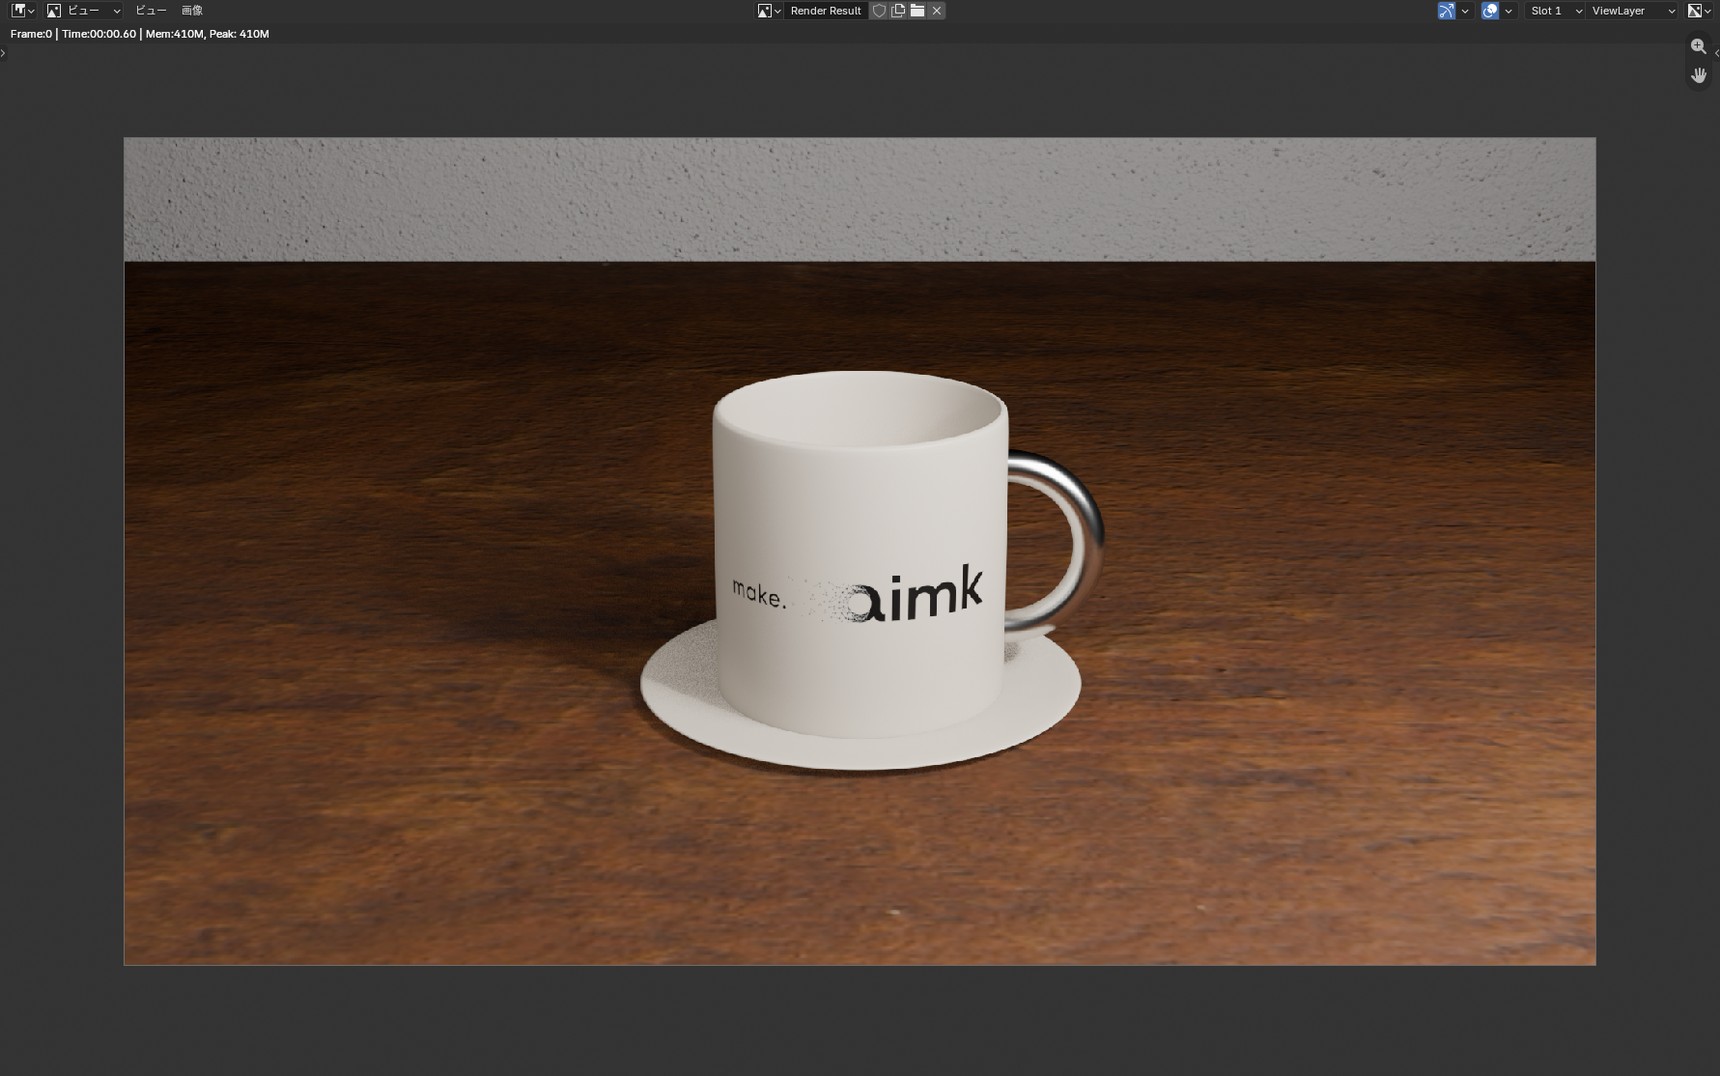
Open "Sampling" → "Render" in Render Properties and look at the "Shadows" settings. There are two of them: "Rays" and "Steps".
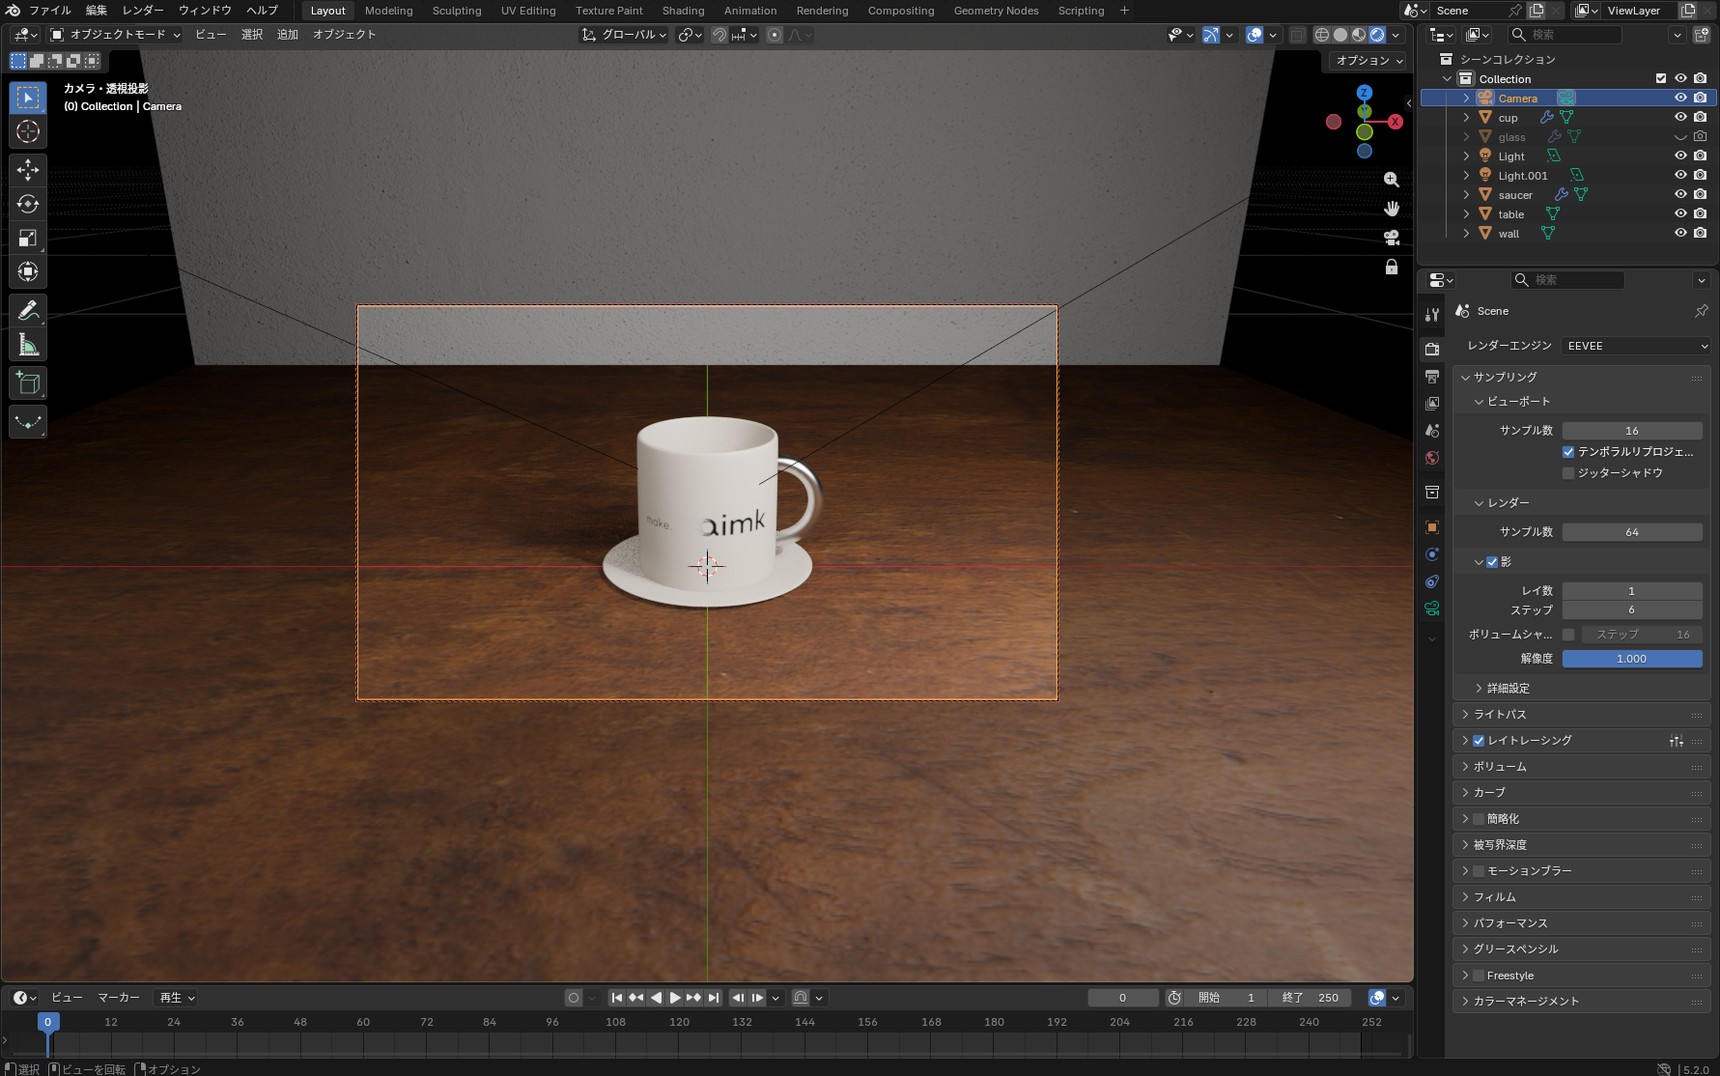
Light Properties has a "Shadow" section of its own, but that one is per light. The one we're adjusting is "Shadows" in Render Properties.
Raising "Samples" will clear this speckle as well, but raising "Rays" got there in less time.
| What changed | Setting | Time taken |
|---|---|---|
| Samples | 16 → 256 (Rays left at 1) |
About 2.1 seconds |
| Rays | 1 → 4 (Samples left at 16) |
About 0.7 seconds |
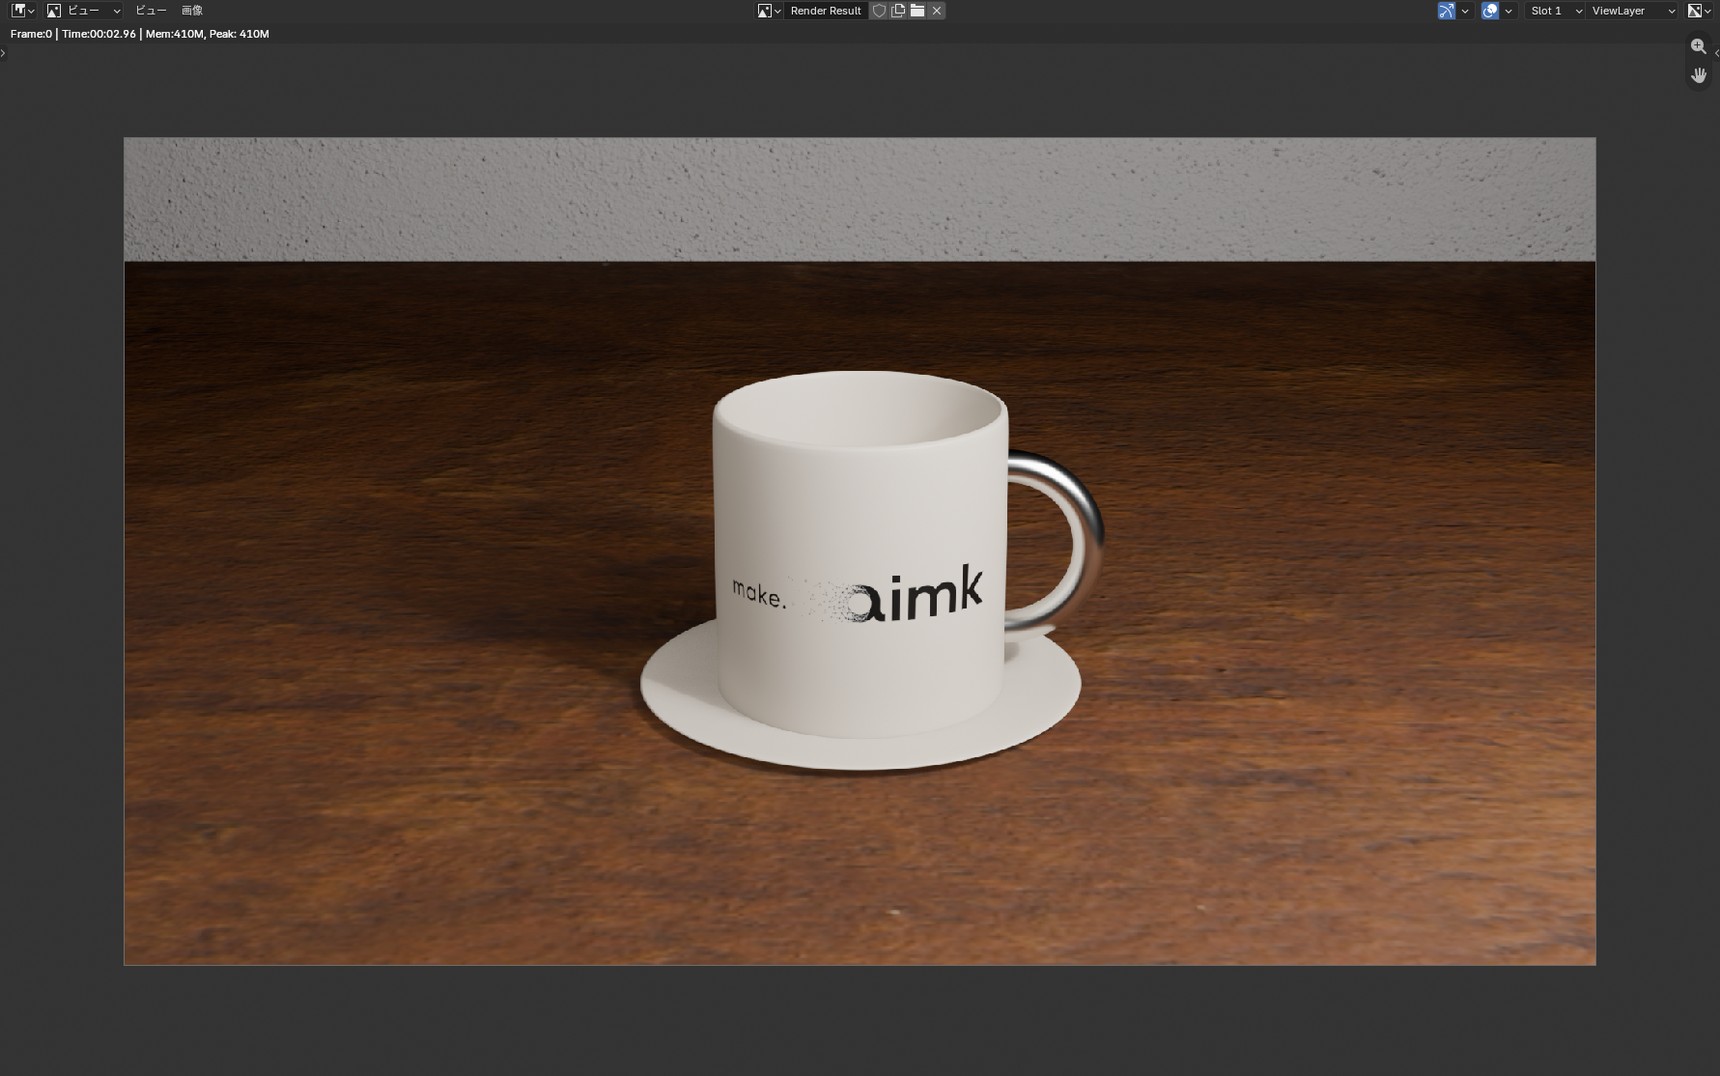
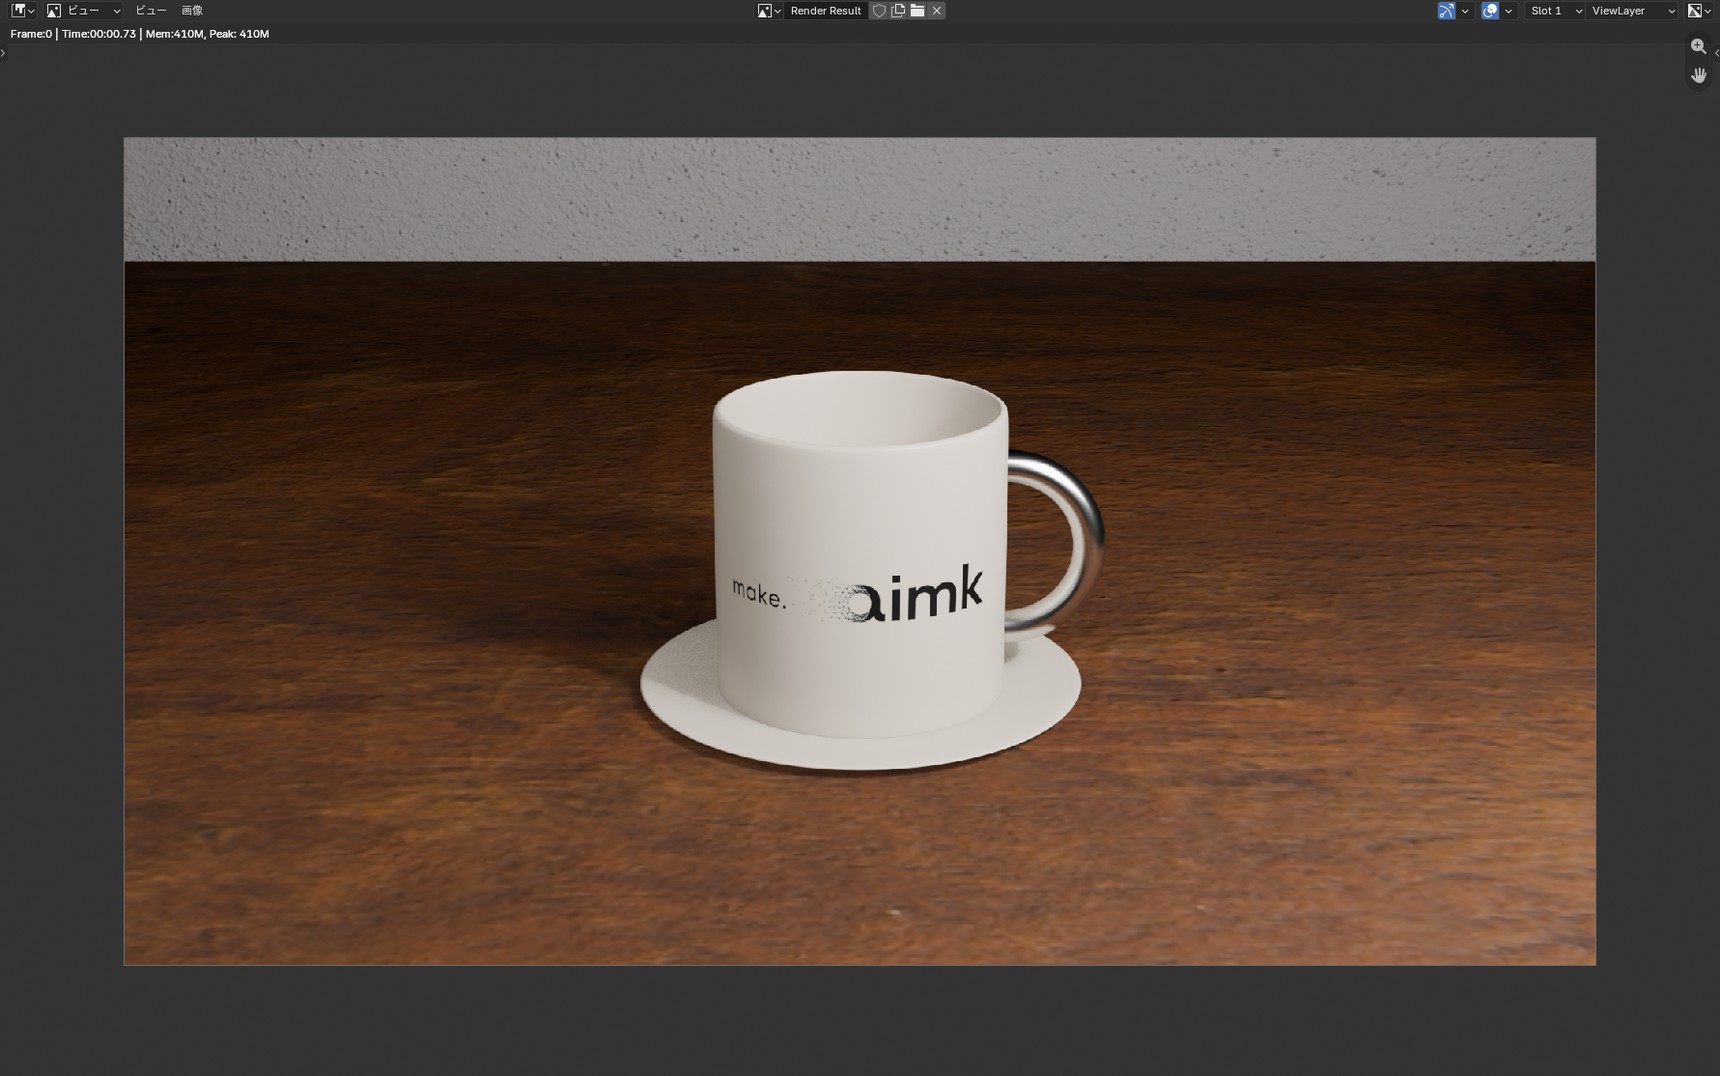
On this cup the speckle cleared by about the same amount either way, while the render times differed by roughly a factor of three. "Rays" tops out at 4, so if speckle still bothers you beyond that, raise
"Samples" from there.
One more thing: there are two sets of samples, one under "Viewport" and one under "Render". What you see in the 3D Viewport comes from "Viewport"; the "Render" values are what F12 uses. If a number you changed makes no difference in the 3D Viewport, check which of the two you edited.
Checklist for when it isn't working
When a render doesn't come out the way you want, work down these four.
- Nothing shows upCheck that the cup is inside the camera's frame. After scaling to real-world size, the camera has to come closer (see "Frame the camera")
- Everything comes out blackCheck the camera icons next to your lights in the Outliner. A light with that icon switched off still glows in the 3D Viewport, but takes no part in the render
- Noise remainsCheck that "Denoise" is ticked. If noise is still there, lower "Noise Threshold" from there
-
Cycles is slowCheck whether "Device" is still on
CPU. If it renders on the CPU even withGPU Computeselected, look at "Cycles Render Devices" in Preferences (see "Set "Device" to GPU Compute")
A black render can also come down to the direction or the strength of your lights. Getting light onto the subject is covered in "Blender Lighting Basics: Placing Your First Light Without an HDRI".
What comes next
We framed the camera, wrote the scene out as a single image, and went through which settings to reach for when noise remains. Once you know what a setting does, you can decide for yourself where the time is worth spending.
If that feels like a lot to hold on to, these five will get you a render.
- A render is what the camera sees, so frame the camera first
- Leave "Noise Threshold" and "Max Samples" at their defaults to begin with
- When Cycles is slow, set "Device" to
GPU Compute - Drop the resolution "%" for test renders, and put it back to
100%for the final image - When EEVEE leaves speckle in the shadows, raise "Rays" under "Shadows"
Next comes baking. Up to now, the light has been calculated afresh every time you write out an image. Baking is a way of burning those results into an image ahead of time.
FAQ
Q. How long does rendering take?
A. Render time depends on what's in your scene and on the machine you're using. On a scene as simple as the coffee cup in this article, EEVEE took about 1 second, Cycles about 13 seconds on GPU Compute, and about 59 seconds on CPU. Note that even at identical settings, timings vary by a few per cent from one render to the next.
Q. I changed the sample count, but the 3D Viewport looks the same.
A. There are two sets of samples, one under "Viewport" and one under "Render". What you see in the 3D Viewport comes from "Viewport"; the "Render" values are what F12 uses.
Q. I turned "Denoise" on and the result came out blurry rather than smooth.
A. Denoising smooths out the noise left by the variation between samples. The noisier the source image, the harder it works, and fine detail can get smoothed away with the noise. Lower "Noise Threshold" first so less noise is left to begin with, and fine detail survives denoising more often.There's more in the column "Lean on denoising too hard and fine detail goes with the noise".
Q. I pressed F12, but I can't find the image file.
A. Rendering with F12 doesn't write a file. In the render window, choose "Image" > "Save As" (Shift+Alt+S), pick a location and a file name, and save.
Q. Should I use EEVEE or Cycles?
A. For a scene as simple as the coffee cup in this article, EEVEE will finish the job. The result barely differed from Cycles, and it rendered in under a tenth of the time. Where light behaves in complicated ways — refraction through glass, or an interior where light bounces repeatedly — Cycles gets closer to how light behaves in reality.
Q. I'm looking for a render engine called "Cycles X" and can't find it.
A. There's no render engine called "Cycles X" in current versions of Blender. Cycles X was the name of a 2021 project that rebuilt the internals of Cycles, and that work has been part of Cycles since Blender 3.0. Choose "Cycles" under "Render Engine" and you get everything Cycles X brought with it.
Columns
Lean on denoising too hard and fine detail goes with the noise
Denoising cleans up the noise a render leaves behind. The catch is that the noisier the source image, the more likely fine detail is to get smoothed away along with it.
On this cup, timing "Denoise" on and off at two different "Noise Threshold" values came out like this.
| Noise Threshold | Denoise off | Denoise on |
|---|---|---|
0.1 |
About 2 seconds | About 9 seconds |
0.01 |
About 9 seconds | About 13 seconds |
At 0.1 the render itself is quick, but a lot of noise is left in it. Denoising from there still landed at about 9 seconds.
At the default of 0.01, most of the noise is already gone by the end of the render. Denoising on top of that took about 13 seconds and came out clean with the fine detail intact.
Rather than raising "Noise Threshold" to cut the work and leaving everything else to denoising, reduce some of the noise in the render first and then denoise. Fine detail survives that way more often.
Rendered view and rendering are not the same thing
Of the four round icons at the top right of the 3D Viewport, the one on the far right is "Rendered". That's the display we've been checking our work in throughout the series.
Rendered view calculates what you'd see from your current viewpoint and shows it on the spot. Move the viewpoint and what you see changes with it, and the proportions of the picture follow the size of your 3D Viewport.
Rendering with F12 makes a single image as seen from the camera, at the size set in Output Properties. Some processing, denoising among it, isn't used in Rendered view by default.
So something can look clean in Rendered view and still come out differently once you render it.
Settings get renamed and moved between versions
Blender's settings change names and locations from one version to the next, and a set of steps you found by searching may not match the screen in front of you.
You'll see instructions to "tick Adaptive Sampling", for instance. Blender 5.2 has no checkbox by that name: tick "Noise Threshold" and you get the same mechanism. That checkbox is on by default.
EEVEE was rebuilt substantially in Blender 4.2. "Bloom" left Render Properties and is now set in the compositor, and "Ambient Occlusion" no longer appears in Render Properties as an entry of its own.
Generative AI can mix older versions into its answers too. While writing this article we asked three of them about "Rays" under "Shadows", and one replied that it had been merged and renamed. In Blender 5.2, "Rays" is still there inside "Shadows" under "Sampling".
When you can't find a setting, check which version of Blender you're running before concluding it's gone. Looking through the manual for that same version, or opening up the panels in Render Properties, often turns it up.